LimeSurveyというオープンソースのアンケートシステムがあり、非常に多機能なソフトらしいのでインストールしてみます。これはApache / PHP / MySQL ( Mariadb )を使って稼働するソフトなので下準備としてこれらをまずインストールする必要があります。
最初にApacheをインストールしておきます。
# yum install httpd # rpm -qa | grep httpd httpd-tools-2.4.6-18.el7.centos.x86_64 httpd-devel-2.4.6-18.el7.centos.x86_64 httpd-2.4.6-18.el7.centos.x86_64 |
次にPHPをインストールします。
# yum install php php-mbstring php-mysql php-imap # rpm -qa | grep php php-5.4.16-23.el7_0.3.x86_64 php-mbstring-5.4.16-23.el7_0.3.x86_64 php-mysql-5.4.16-23.el7_0.3.x86_64 php-imap-5.4.16-2.el7.x86_64 |
続けてPHPの設定を実施しておきます。
# vi /etc/php.ini // 692行目 default_charset = "UTF-8" // 878行目 date.timezone = "Asia/Tokyo" |
データ情報を保存するためデータベース・サーバ ( Mariadb ) をインストールします。
# yum install mariadb-server # rpm -qa | grep mariadb mariadb-5.5.37-1.el7_0.x86_64 mariadb-server-5.5.37-1.el7_0.x86_64 mariadb-libs-5.5.37-1.el7_0.x86_64 |
Mariadbの初期設定を行います。設定ファイルは/etc/my.cnfになり、/etc/my.cnf.d以下の設定ファイルがインクルードされる形となっています。この中で/etc/my.cnfを編集し文字コードを設定しておきます。
# vi /etc/my.cnf [mysqld] datadir=/var/lib/mysql socket=/var/lib/mysql/mysql.sock # Disabling symbolic-links is recommended to prevent assorted security risks symbolic-links=0 # Settings user and group are ignored when systemd is used. # If you need to run mysqld under a different user or group, # customize your systemd unit file for mariadb according to the # instructions in http://fedoraproject.org/wiki/Systemd character-set-server=utf8 |
systemctlコマンドでmariadbを有効にしてから起動します。 ( 有効にしてからでないと起動しませんでした )
# systemctl enable mariadb.service # systemctl start mariadb.service |
続いてMariaDBの初期設定を行います。初期セットアップコマンドがあり対話形式に進めていきますので、それを実行します。rootパスワードを設定するところのみ入力する必要がありますが、その他についてはそのままEnterで大丈夫です。
# mysql_secure_installation
/usr/bin/mysql_secure_installation: 行 379: find_mysql_client: コマンドが見つかりません

NOTE: RUNNING ALL PARTS OF THIS SCRIPT IS RECOMMENDED FOR ALL MariaDB
      SERVERS IN PRODUCTION USE!  PLEASE READ EACH STEP CAREFULLY!

In order to log into MariaDB to secure it, we'll need the current
password for the root user.  If you've just installed MariaDB, and
you haven't set the root password yet, the password will be blank,
so you should just press enter here.

Enter current password for root (enter for none):[enter]
OK, successfully used password, moving on...

Setting the root password ensures that nobody can log into the MariaDB
root user without the proper authorisation.

Set root password? [Y/n][enter]
New password:[パスワード入力]
Re-enter new password:[パスワード入力]
Password updated successfully!
Reloading privilege tables..
 ... Success!


By default, a MariaDB installation has an anonymous user, allowing anyone
to log into MariaDB without having to have a user account created for
them.  This is intended only for testing, and to make the installation
go a bit smoother.  You should remove them before moving into a
production environment.

Remove anonymous users? [Y/n][enter]
 ... Success!

Normally, root should only be allowed to connect from 'localhost'.  This
ensures that someone cannot guess at the root password from the network.

Disallow root login remotely? [Y/n][enter]
 ... Success!

By default, MariaDB comes with a database named 'test' that anyone can
access.  This is also intended only for testing, and should be removed
before moving into a production environment.

Remove test database and access to it? [Y/n][enter]
 - Dropping test database...
 ... Success!
 - Removing privileges on test database...
 ... Success!

Reloading the privilege tables will ensure that all changes made so far
will take effect immediately.

Reload privilege tables now? [Y/n][enter]
 ... Success!

Cleaning up...

All done!  If you've completed all of the above steps, your MariaDB
installation should now be secure.

Thanks for using MariaDB!
|
続いてlimesurvey用のユーザとデーベースを作成します。以下ではlimesurveyというデータベースを作成し、それにアクセスするユーザIDとパスワードをともにlimesurveyに設定しています。
# mysql -u root -p Enter password:[パスワード入力] Welcome to the MariaDB monitor. Commands end with ; or \g. Your MariaDB connection id is 641 Server version: 5.5.37-MariaDB MariaDB Server Copyright (c) 2000, 2014, Oracle, Monty Program Ab and others. Type 'help;' or '\h' for help. Type '\c' to clear the current input statement. MariaDB [(none)]> create database limesurvey; Query OK, 1 row affected (0.00 sec) MariaDB [(none)]> grant all privileges on limesurvey.* to limesurvey@localhost identified by '******'; Query OK, 0 rows affected (0.00 sec) MariaDB [(none)]> quit Bye |
LimeSurveyはWeb経由でアクセスをしますのでApacheを有効にして起動します。
# systemctl enable httpd.service # systemctl start httpd.service |
下準備は整いましたのでLimeSurvey本体をインストールします。以下のサイトからダウンロードします。
http://www.limesurvey.org/en/stable-release
圧縮形式が複数ありますが馴染みの深いtar.gz版を私はダウンロードしました。2014/11現在で最新バージョンはlimesurvey205plus-build141113.tar.gzです。こちらを解凍してWebのディレクトリに配置しオーナー権限を変更しておきます。
# tar xvzf limesurvey205plus-build141113.tar.gz # mv limesurvey /var/www/html/ # chown -R apache.apache /var/www/html/limesurvey/ |
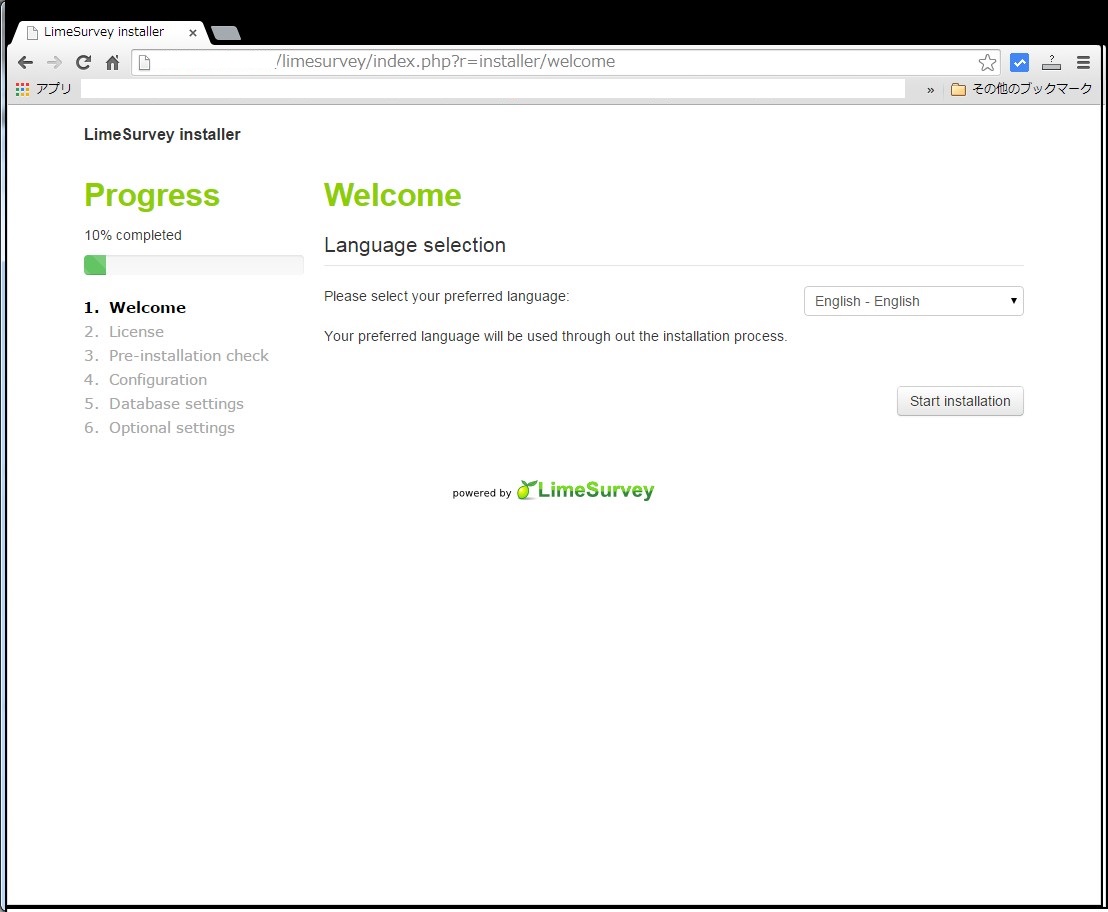
後はWeb画面から設定を行います。http://[ip-address]/limesurvey/admin/にアクセスしてください。以下の画面が表示されますので言語を選択しインストールを開始します。
ライセンスが表示されますので「同意する」ボタンをクリックします。

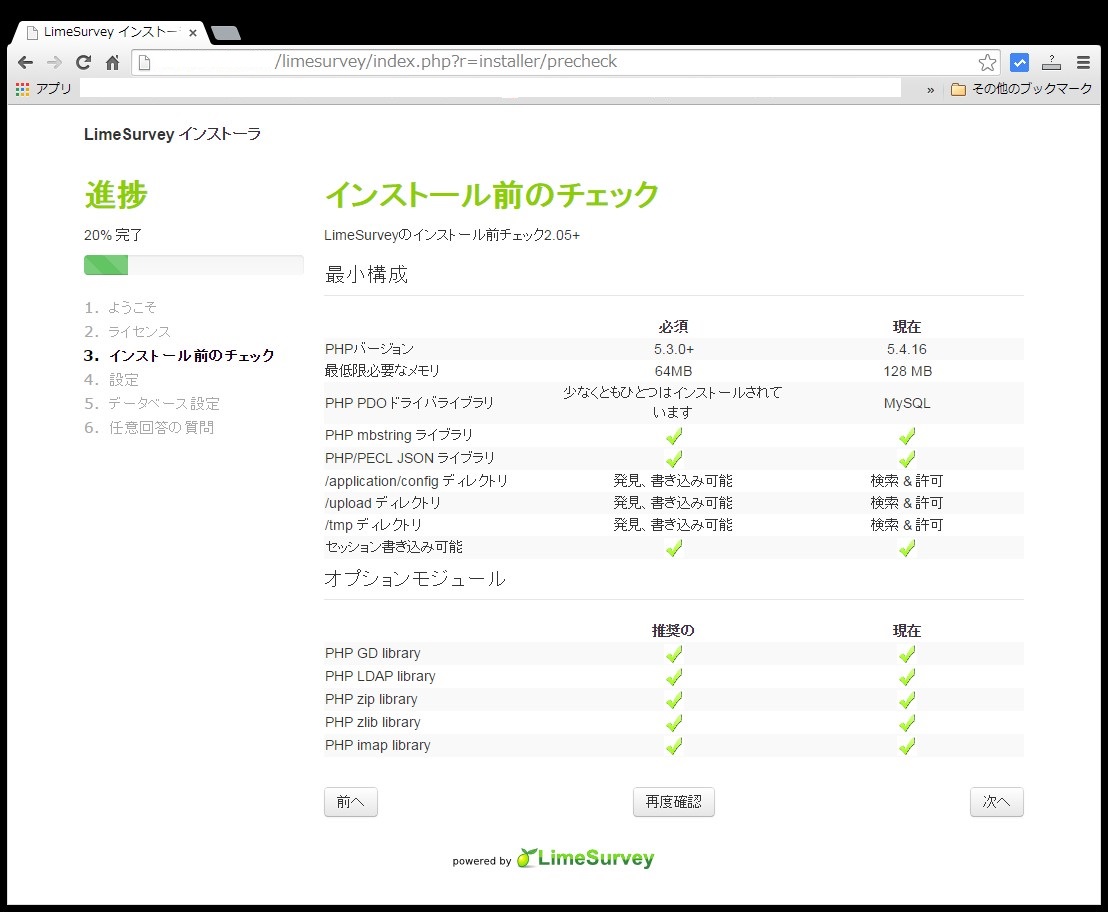
PHPのバージョン、モジュールなどのチェックが走り、その結果が表示されます。問題なければそのまま続ければ良いですが赤色✕ボタンが表示されていた場合は足りないモジュールのインストールなどを行ってください。
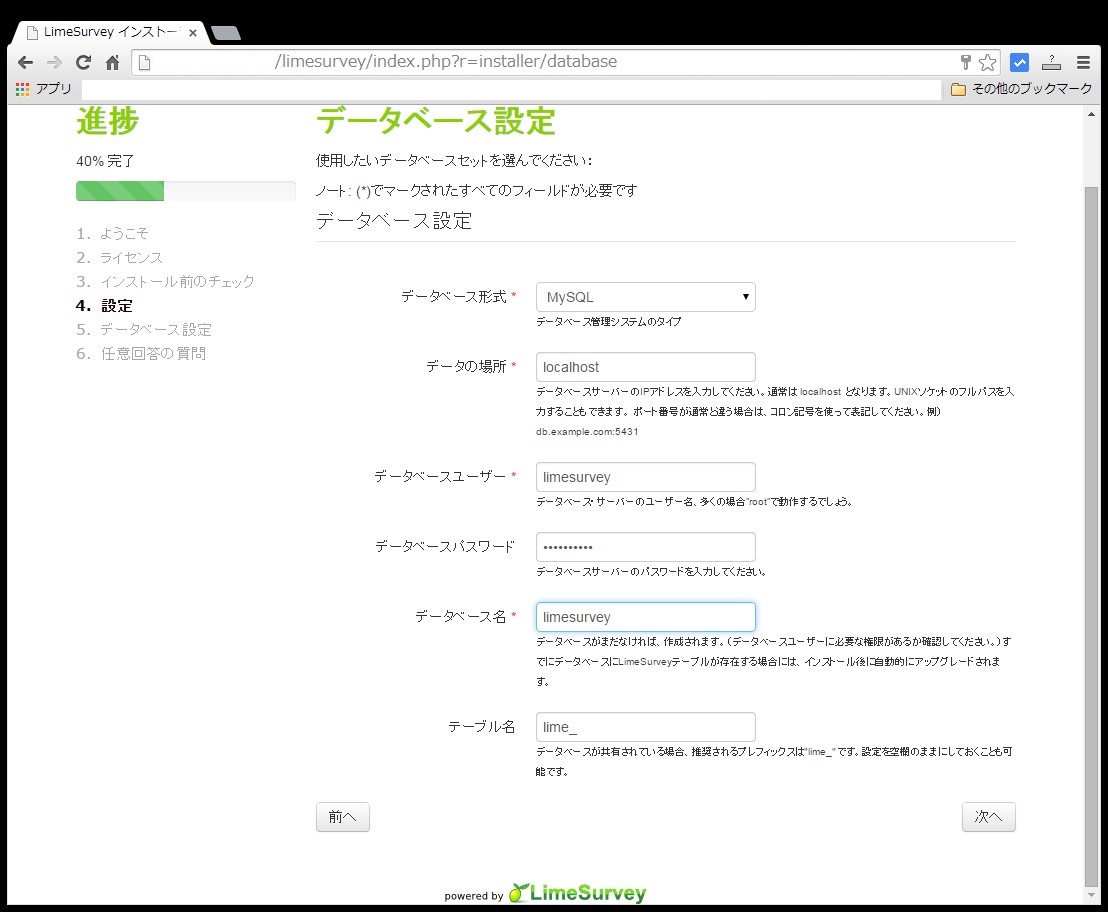
次にデータベースの設定を行います。上のインストール時に設定したデータベース名やユーザ名、パスワード等を入力します。
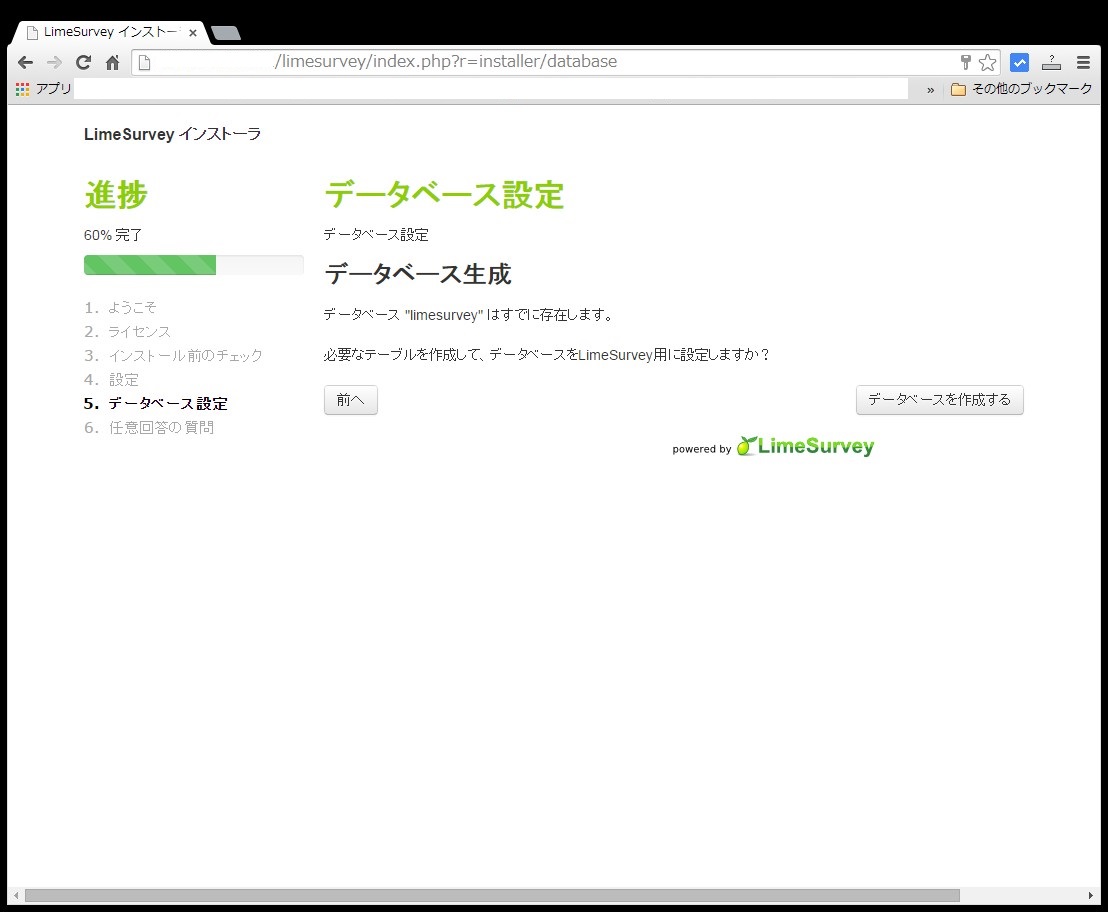
データベースへの接続が成功すれば以下の画面が表示されますので「データーベースを作成する」ボタンをクリックして下さい。
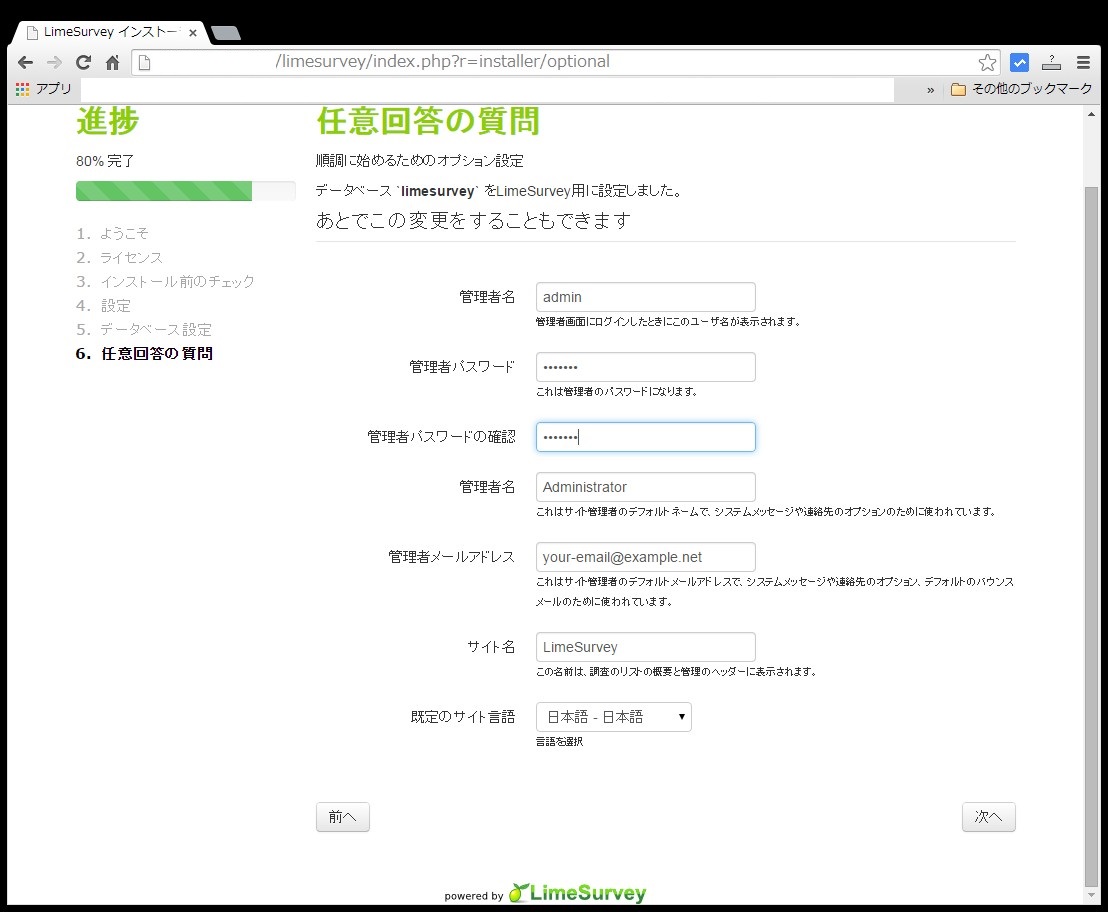
ログインIDやパスワードなど任意の質問について入力して次へをクリックします。
全てが完了すると以下の画面が表示されます。これでインストールは完了となります。
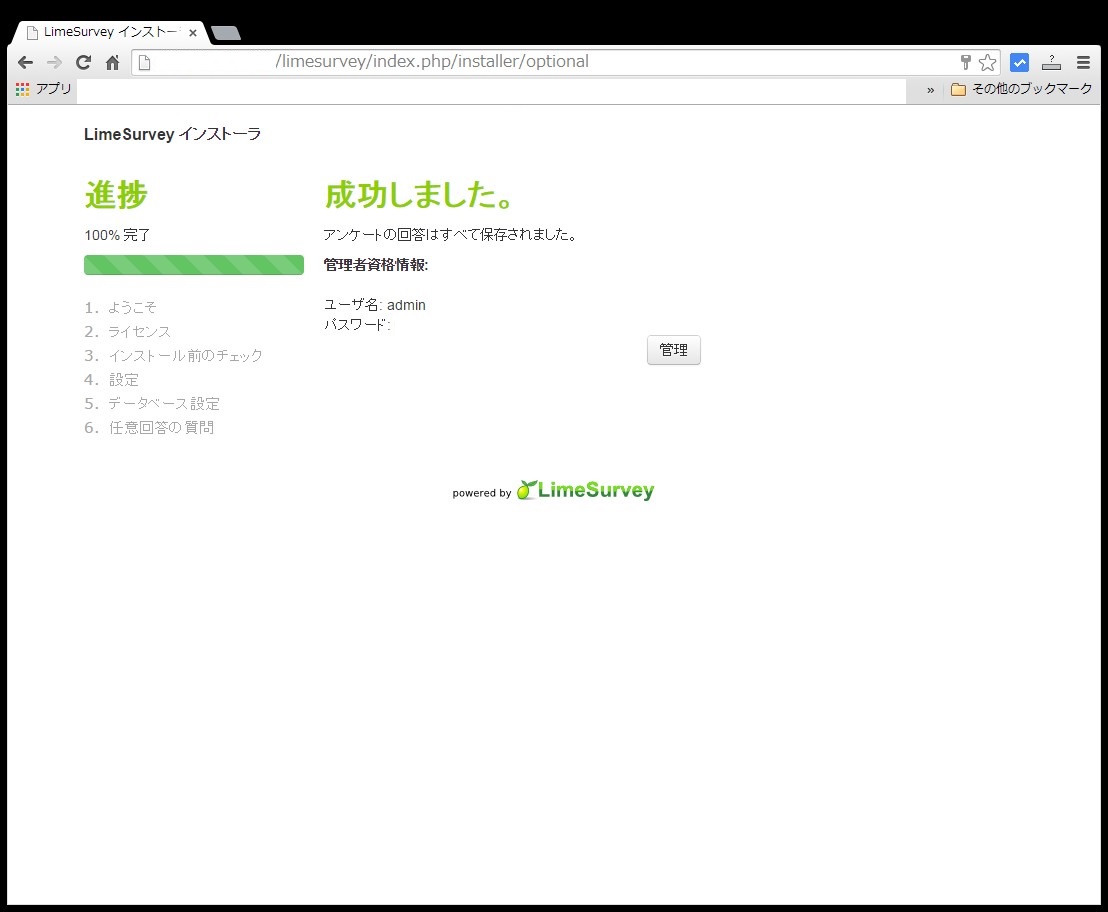
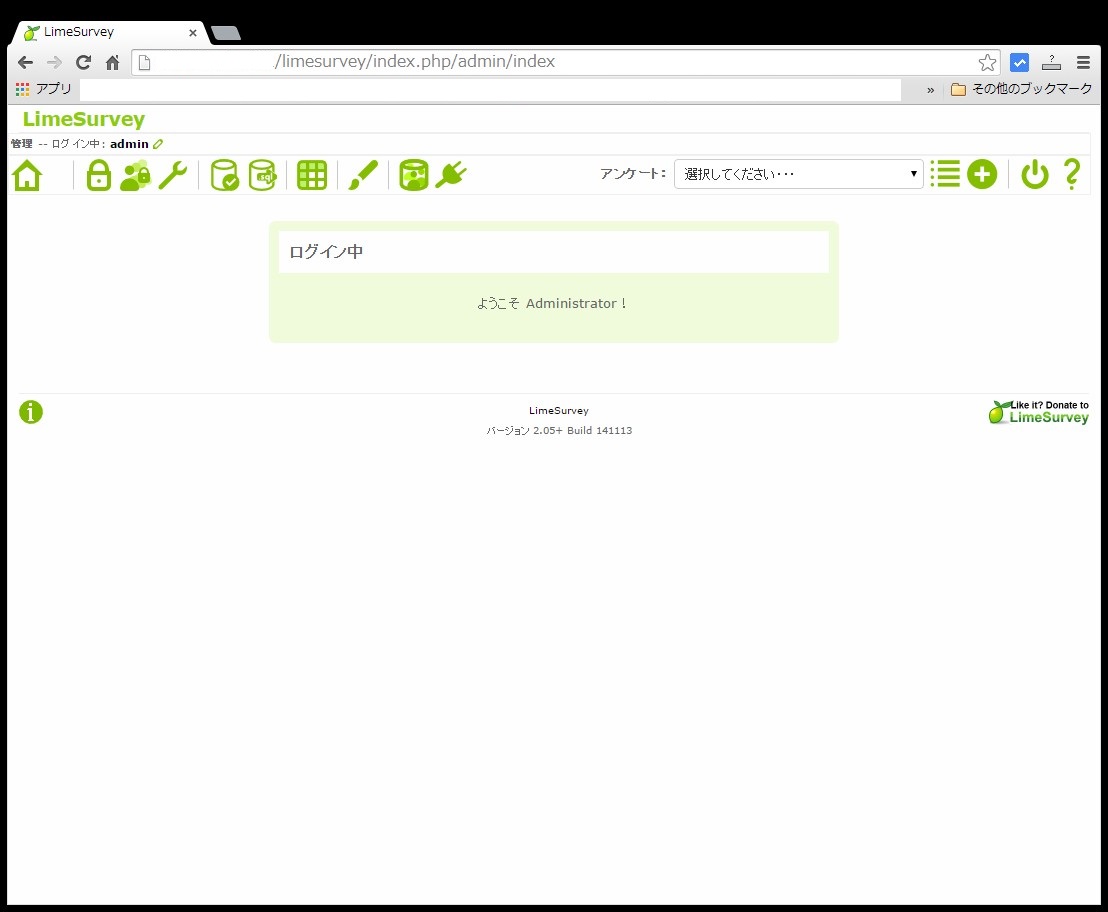
上記画面の管理ボタンをクリックするとLimeSurveyのログイン画面が表示されます。
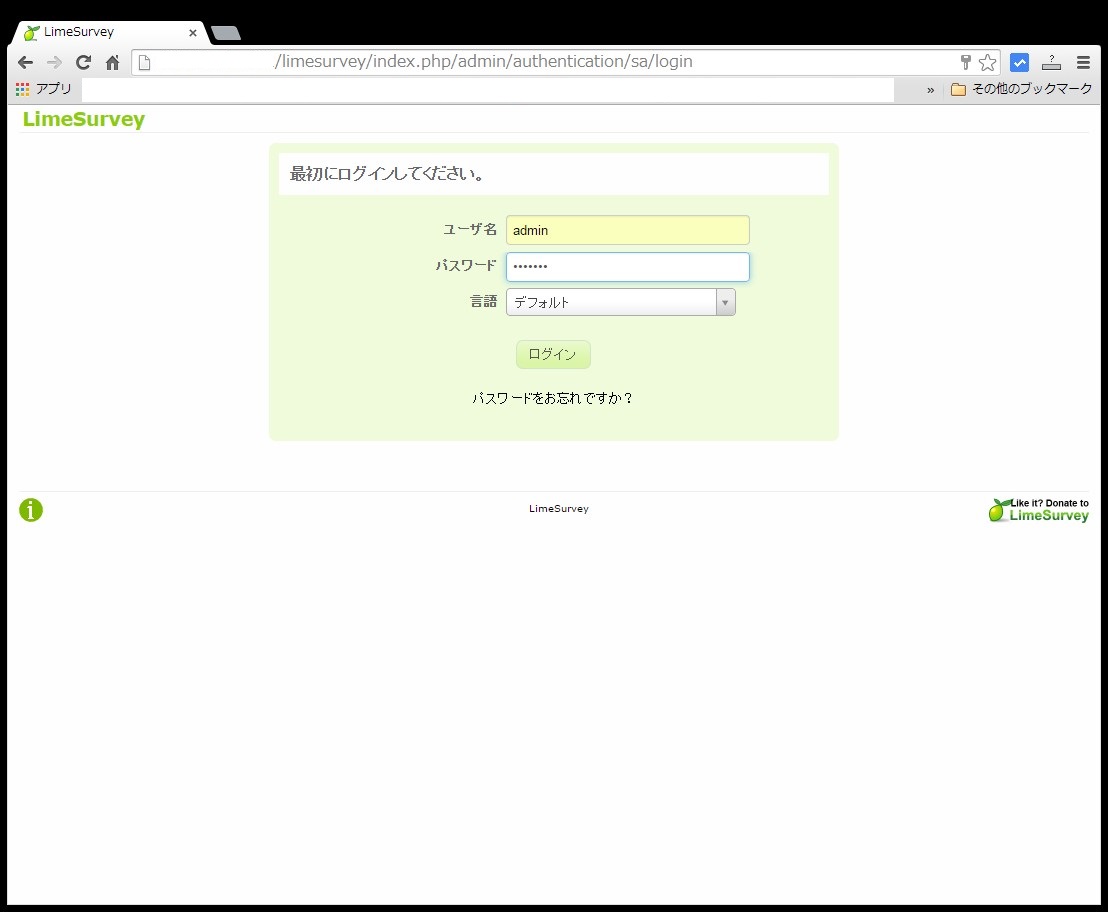
上で設定したadminのパスワードでログインすると以下の画面が表示されます。ここの画面からアンケートの作成などを行います。