FreeRADIUSは本来、ユーザアカウントなどをテキストファイルで管理するのですが、viなどでそれらを編集するのは利便性にかけるので、誰でも簡単に一括登録もできる管理ツールはないか探してみたところ、daloRADIUSというソフトがありました。
これはMySQLを使ってユーザ管理を行い、Web管理画面から操作を行うことのできるツールです。日本語には未対応ですが直感的でわかりやすく、ユーザの一括登録や削除などを行いたい場合はそれなりに使えるツールだと思われます。
Webから管理を行うのでApacheがインストールされているという前提です。まず、ベースとなるfreeradiusとMariaDBをインストールします。下記は2回にわけてインストールしていますが、一度に行っても問題ありません。
# dnf install freeradius freeradius-utils freeradius-mysql |
私の環境ではdnfでfreeradius-mysqlパッケージが見つからず、仕方なく以下のサイトから手動で持ってきて個別にインストールしました。
https://rpmfind.net/linux/rpm2html/search.php?query=freeradius-mysql(x86-64)
# rpm -Uvh freeradius-mysql-3.0.21-37.el9.x86_64.rpm |
次にデータベースのインストールおよび設定を行います。
# dnf install mariadb-server # vi /etc/my.cnf.d/mariadb-server.cnf <追記> [mysqld] default-time-zone=Asia/Tokyo character_set_server=utf8mb4 |
次にデータベースを起動してデータベース作成を行います。
# systemctl enable mariadb # systemctl start mariadb # mysql -u root -p Enter password:[rootパスワード入力] Welcome to the MariaDB monitor. Commands end with ; or \g. Your MariaDB connection id is 3 Server version: 10.5.16-MariaDB MariaDB Server Copyright (c) 2000, 2018, Oracle, MariaDB Corporation Ab and others. Type 'help;' or '\h' for help. Type '\c' to clear the current input statement. MariaDB [(none)]> create database radius; Query OK, 1 row affected (0.000 sec) MariaDB [(none)]> grant all privileges on radius.* to radius@localhost identified by 'radius@123'; Query OK, 0 rows affected (0.013 sec) MariaDB [(none)]> flush privileges; Query OK, 0 rows affected (0.001 sec) MariaDB [(none)]> exit Bye |
つづけてRADIUSデータベースにSQL文の流しこみを行います。以下のコマンドでユーザradiusでデータベースradiusに接続してschema.sqlを流し込みます。
# mysql -u root -p radius < /etc/raddb/mods-config/sql/main/mysql/schema.sql Enter password:[パスワードを入力] |
次に以下のようにシンボリックリンクをはっておきます。
# ln -s /etc/raddb/mods-available/sql /etc/raddb/mods-enabled/ |
次に接続するMySQLサーバに関する設定を行います。/etc/raddb/mods-available/sqlを以下のように編集します。
# vi /etc/raddb/mods-available/sql

<省略>
sql {
<省略>
        dialect = "mysql"
        driver = "rlm_sql_mysql"
<省略>
        mysql {
                # If any of the files below are set, TLS encryption is enabled
                #tls {
                #        ca_file = "/etc/ssl/certs/my_ca.crt"
                #        ca_path = "/etc/ssl/certs/"
                #        certificate_file = "/etc/ssl/certs/private/client.crt"
                #        private_key_file = "/etc/ssl/certs/private/client.key"
                #        cipher = "DHE-RSA-AES256-SHA:AES128-SHA"

                #        tls_required = yes
                #        tls_check_cert = no
                #        tls_check_cert_cn = no
                #}

                # If yes, (or auto and libmysqlclient reports warnings are
                # available), will retrieve and log additional warnings from
                # the server if an error has occured. Defaults to 'auto'
                warnings = auto
        }
<省略>
        # The dialect of SQL you want to use, this should usually match
        # the driver you selected above.
        #
        # If you're using rlm_sql_null, then it should be the type of
        # database the logged queries are going to be executed against.
        dialect = "mysql"
        # Connection info:
        #
        server = "localhost"
        port = 3306
        login = "radius"
        password = "radius@123"
<省略>
        # Set to 'yes' to read radius clients from the database ('nas' table)
        # Clients will ONLY be read on server startup.
        read_clients = yes
|
あとはこのファイルの権限を変更しておきます。
# chgrp -h radiusd /etc/raddb/mods-enabled/sql |
設定を有効にするためにfreeradiusを再起動しておきます。
# systemctl restart radiusd |
FreeRADIUS側の設定は以上となりますが、daloRadiusはPHPで動きますのでPHPもインストールしておきます。
# dnf -y install @php php-{cli,curl,mysqlnd,devel,gd,pear,mbstring,xml,pear}
# pear install DB
# pear install MDB2
# systemctl restart httpd
|
daloRADIUSをインストールします。まず最新バージョンをwgetでダウンロードし展開します。
# cd /tmp # wget https://github.com/lirantal/daloradius/archive/master.zip # unzip master.zip # mv daloradius-master/ daloradius # cd daloradius |
このあとSQL文を流し込みます。
# mysql -u root -p radius < contrib/db/fr2-mysql-daloradius-and-freeradius.sql Enter password:[パスワード入力] # mysql -u root -p radius < contrib/db/mysql-daloradius.sql Enter password:[パスワード入力] |
後はこのdaloRADIUS本体をApacheのドキュメントルートに配置します。
# cd .. # mv daloradius/ /var/www/html/ # chown -R apache.apache /var/www/html/daloradius/ # cp /var/www/html/daloradius/app/common/includes/daloradius.conf.php.sample /var/www/html/daloradius/app/common/includes/daloradius.conf.php # chmod 664 /var/www/html/daloradius/app/common/includes/daloradius.conf.php |
続けてdaloRADIUS用のSQLの設定を行います。以下の3行を必要に応じて編集します。
# vi /var/www/html/daloradius/app/common/includes/daloradius.conf.php <省略> $configValues['CONFIG_DB_USER'] = 'radius'; $configValues['CONFIG_DB_PASS'] = 'radius@123'; $configValues['CONFIG_DB_NAME'] = 'radius'; <省略> |
後はWebから画面が見えるか試してみます。アクセス先はhttp://[ip-address]/daloradius/login.phpとなります。以下の画面が見えたらOKです。
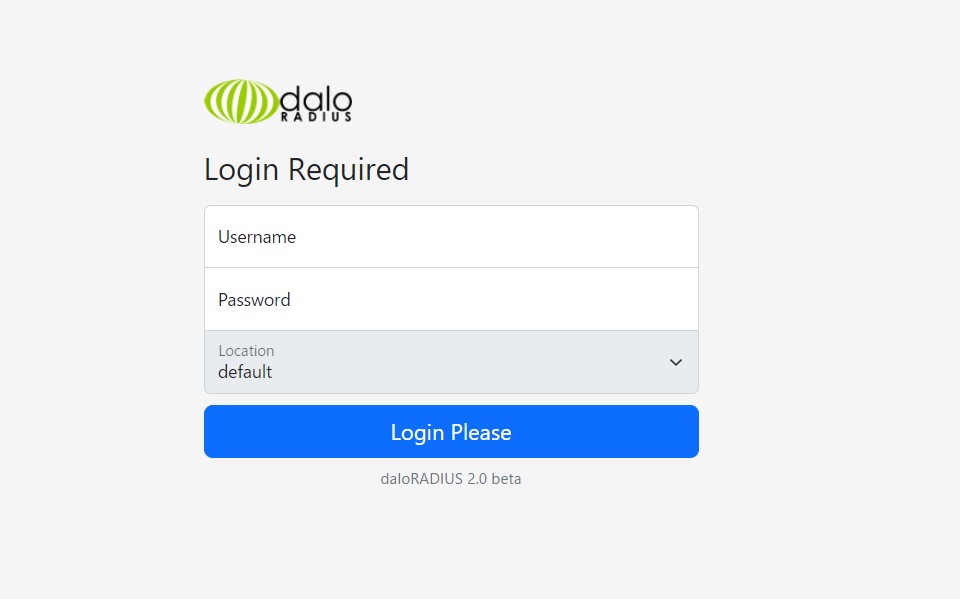
デフォルトのログインID/PASSはadministrator / radiusとなります。ログインできるか試して見てください。ログイン直後は以下のような画面となります。
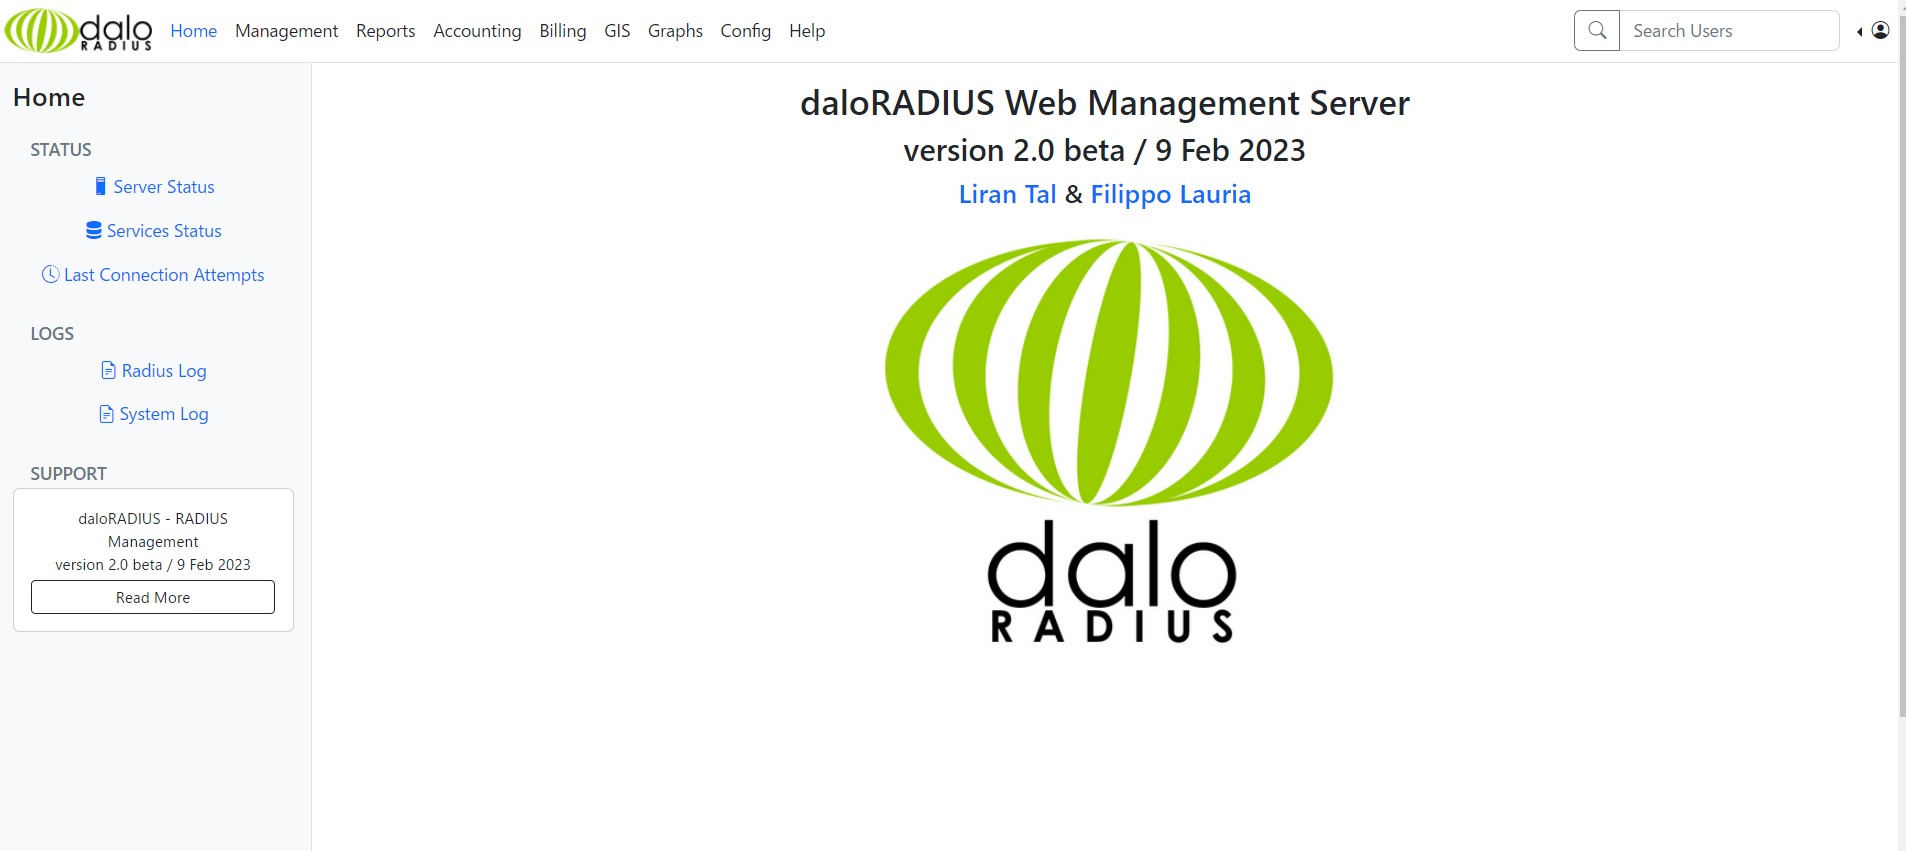
WebUIのManagement – New Userから認証ユーザを追加することができます。テスト的にtestuser / testpasswordで作成し、認証に成功するかどうか試してみます。ユーザを作成した後に以下のコマンドでテストしてみてください。
# radtest testuser testpassword localhost 0 testing123
Sent Access-Request Id 250 from 0.0.0.0:45131 to 127.0.0.1:1812 length 78
        User-Name = "testuser"
        User-Password = "testpassword"
        NAS-IP-Address = 127.0.0.1
        NAS-Port = 0
        Message-Authenticator = 0x00
        Cleartext-Password = "testpassword"
Received Access-Accept Id 250 from 127.0.0.1:1812 to 0.0.0.0:0 length 20
|
上記のようになれば成功です。/var/log/radius/radius.logにも以下のような出力が残っているはずです。
Auth: (0) Login OK: [testuser/testpassword] (from client localhost port 0) |
上のdaloradiusはログイン画面に出ている通り、versionが2.0のものです。1系とはインターフェース面結構な変更がかかっているので、従来どおりのものがよければ1.1.2が最新となります。
個人的にはID/PASSを一括インポートすることが多いのですが、最新バージョン(2.0)ですとインポートの際にid,pass,mail,fullnameなど少し多くの属性をいれることが必須となっておりますので、それを煩わしく感じて古いバージョンに戻しました。
古いバージョンのものは以下からダウンロード可能です。
https://sourceforge.net/projects/daloradius/files/daloradius/
作業内容はほぼ同じなのですが、ディレクトリ配置が少し変わっているので注意が必要です。ほとんど同じであるものの、違うところだけ太字にしておきます。
# unzip daloradius-1.1-2.zip # cd daloradius/ # mysql -u root -p radius < contrib/db/fr2-mysql-daloradius-and-freeradius.sql Enter password:[パスワード入力] # mysql -u root -p radius < contrib/db/mysql-daloradius.sql Enter password:[パスワード入力] |
後はこのdaloRADIUS本体をApacheのドキュメントルートに配置します。
# cd .. # mv daloradius/ /var/www/html/ # chown -R apache.apache /var/www/html/daloradius/ # chmod 664 /var/www/html/daloradius/library/daloradius.conf.php |
続けてdaloRADIUS用のSQLの設定を行います。以下の3行を必要に応じて編集します。
# vi /var/www/html/daloradius/library/daloradius.conf.php <省略> $configValues['CONFIG_DB_USER'] = 'radius'; $configValues['CONFIG_DB_PASS'] = 'radius@123'; $configValues['CONFIG_DB_NAME'] = 'radius'; <省略> |
あとの処理は同様です。