AlmaLinux9にcactiをインストールします。
cactiは0.8.8まで使っていましたが、その後は1.1系へとなり、最新(2023/5現在)は1.2系となっています。0.8系までとはかなり見た目も変わっていますので、じっくり触って行きたいと思いますが、まずはインストールです。
cacti本体をインストールし、cacti情報を格納するデータベースも合わせてインストールします。
# dnf install cacti cacti-spine # dnf install mariadb-server |
デーベースサーバを最初に起動、設定します。下記はcactiというデータベースを作成し、それに対してcactiuserというアカウント名でフル権限を与えてパスワードをcactiuserに設定しています。
# systemctl enable mariadb # systemctl start mariadb # mysql -u root -p Enter password:[rootパスワード入力] Welcome to the MariaDB monitor. Commands end with ; or \g. Your MariaDB connection id is 3 Server version: 10.5.16-MariaDB MariaDB Server Copyright (c) 2000, 2018, Oracle, MariaDB Corporation Ab and others. Type 'help;' or '\h' for help. Type '\c' to clear the current input statement. MariaDB [(none)]> create database cacti; Query OK, 1 row affected (0.000 sec) MariaDB [(none)]> grant all privileges on cacti.* to cactiuser@localhost identified by 'cactiuser'; Query OK, 0 rows affected (0.013 sec) MariaDB [(none)]> flush privileges ; Query OK, 0 rows affected (0.001 sec) |
パスワードはデフォルトのcactiuserとしていますが、cacti側の設定ファイルは/etc/cacti/db.phpとなります。パスワードを任意のものに変えた場合はこちらのファイルを編集して一致させておく必要がでてきます。
# vi /etc/cacti/db.php <抜粋> /** * Make sure these values reflect your actual database/host/user/password */ $database_type = 'mysql'; $database_default = 'cacti'; $database_hostname = 'localhost'; $database_username = 'cactiuser'; $database_password = 'cactiuser'; $database_port = '3306'; $database_retries = 5; $database_ssl = false; $database_ssl_key = ''; $database_ssl_cert = ''; $database_ssl_ca = ''; $database_persist = false; |
次にcactiに初期データを流し込みます。
# mysql -ucactiuser -pcactiuser --host=localhost cacti < /usr/share/doc/cacti/cacti.sql |
続けてtimezone関連の設定を行っていきます。タイムゾーン関連の設定を行いcactiuserにテーブルのアクセス権を付与します。
# mysql_tzinfo_to_sql /usr/share/zoneinfo | mysql -uroot mysql (3つぐらいwarningがでるけど、気にしない) # mysql -u root -e "SET GLOBAL time_zone = 'Asia/Tokyo';" # mysql -u root -p Enter password: Welcome to the MariaDB monitor. Commands end with ; or \g. Your MariaDB connection id is 6 Server version: 10.5.16-MariaDB MariaDB Server Copyright (c) 2000, 2018, Oracle, MariaDB Corporation Ab and others. Type 'help;' or '\h' for help. Type '\c' to clear the current input statement. MariaDB [(none)]> GRANT SELECT ON mysql.time_zone_name TO cactiuser@localhost; Query OK, 0 rows affected (0.013 sec) MariaDB [(none)]> FLUSH PRIVILEGES; Query OK, 0 rows affected (0.001 sec) |
その他、cactiを動かすのに必要なデータベースパラメーターを設定ファイルに追記します。
# vi /etc/my.cnf.d/mariadb-server.cnf <抜粋> [mysqld] datadir=/var/lib/mysql socket=/var/lib/mysql/mysql.sock log-error=/var/log/mariadb/mariadb.log pid-file=/run/mariadb/mariadb.pid default-time-zone=Asia/Tokyo character_set_server=utf8mb4 collation_server=utf8mb4_unicode_ci character_set_client=utf8mb4 max_heap_table_size=62M tmp_table_size=62M innodb_file_format=Barracuda innodb_large_prefix=1 innodb_buffer_pool_size=1G innodb_flush_log_at_timeout=3 innodb_read_io_threads=32 innodb_write_io_threads=16 innodb_buffer_pool_instances=19 innodb_io_capacity=5000 innodb_io_capacity_max=10000 innodb_doublewrite=off # systemctl restart mariadb |
mariadbに関しては一通り完了です。次にcactiはphpで動きますので必要なphp関連を設定していきます。
# vi /etc/php.ini <抜粋> ; Maximum execution time of each script, in seconds ; http://php.net/max-execution-time ; Note: This directive is hardcoded to 0 for the CLI SAPI max_execution_time = 60 ; Maximum amount of memory a script may consume ; http://php.net/memory-limit memory_limit = 400M [Date] ; Defines the default timezone used by the date functions ; http://php.net/date.timezone ;date.timezone = date.timezone = Asia/Tokyo # systemctl enable php-fpm # systemctl start php-fpm |
Webからアクセスできるようhttpdの設定を変更します。
# vi /etc/httpd/conf.d/cacti.conf

<省略>
<Directory /usr/share/cacti/>
        <IfModule mod_authz_core.c>
                # httpd 2.4
                # Require host localhost
              Require all granted
        </IfModule>
        <IfModule !mod_authz_core.c>
                # httpd 2.2
                Order deny,allow
                Deny from all
                Allow from localhost
        </IfModule>
</Directory>
<省略>
|
この状態でApacheを有効化し起動します。
# systemctl enable httpd.service # systemctl start httpd.service |
firewalldにHTTPの接続を許可する設定も合わせて必要です。
# vi /etc/firewalld/zones/public.xml

<追記>
  <rule family="ipv4">
    <source address="192.168.0.0/16"/>
    <port protocol="tcp" port="80"/>
    <accept/>
  </rule>
<追記>

# systemctl restart firewalld
|
ここまでくればようやくcactiの管理画面が拝めます。http://[ip-address]/cacti/にアクセスすると以下のような画面が表示されます。
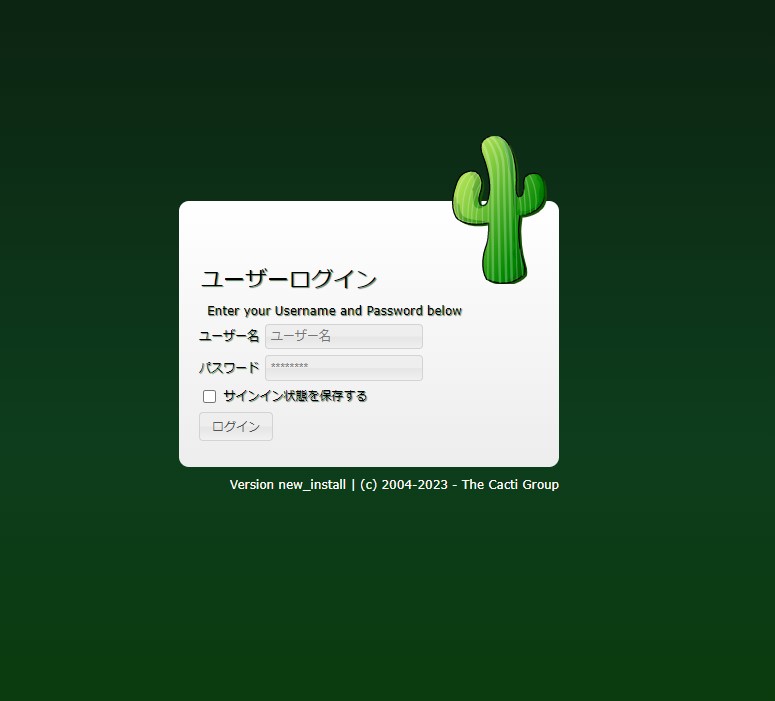
デフォルトのID,PASSはadminです。それでログイン後、パスワード変更を促されます。
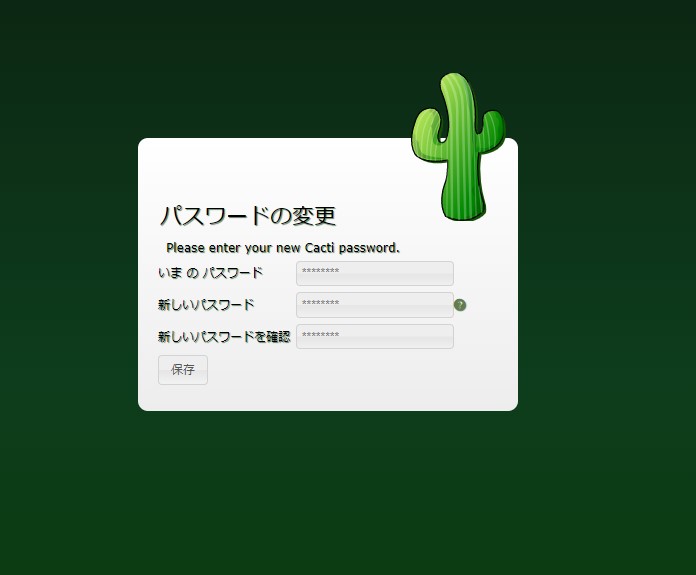
新しいパスワードを設定してください。8文字以上、英数字記号を混ぜるなど、少々面倒です。設定したら保存ボタンをクリックしてください。

ウィザードが始まります。最初はライセンス規約ですが、ここで言語を選択することができます。デフォルトは英語ですが、上は日本語を選んだあとの状態です。またテーマなどもここで変えることができますが、とりあえずそのままでいきます。
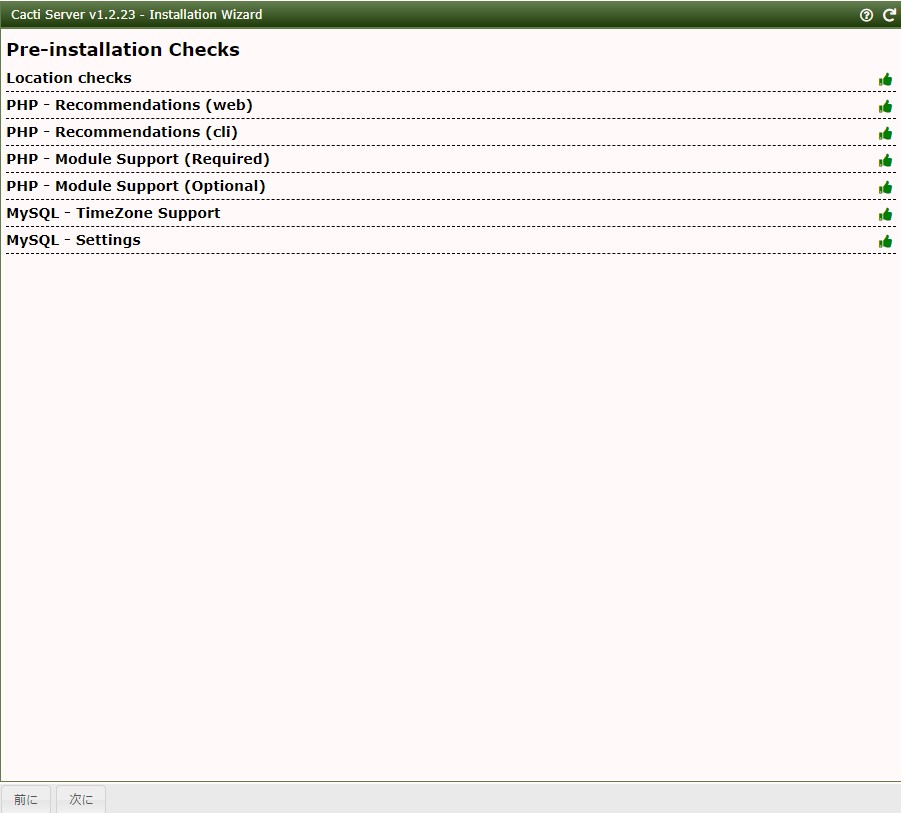
次のページでインストール前段階で必要なシステムが揃っているかチェックが走ります。PHPやMariadbなどで不備があったらここで警告がでます。指示にそって修正してください。すべてOKとなれば上のようになりますので次にをクリックします。
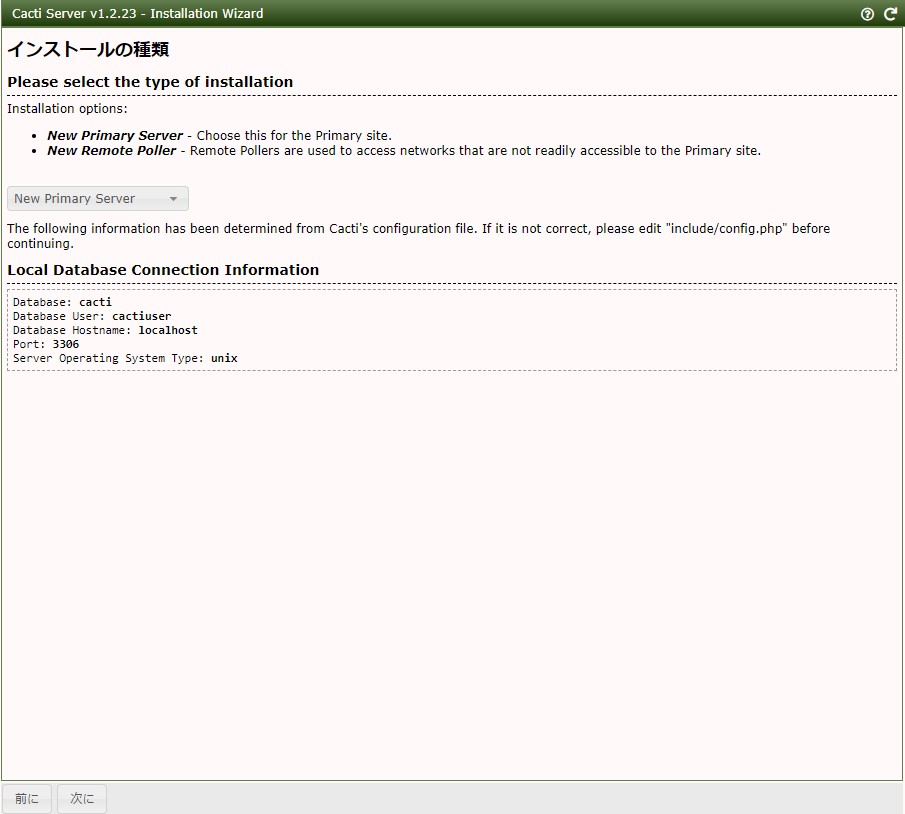
インストールの種類を選択します。Primaryなので何も触らず次にをクリック。
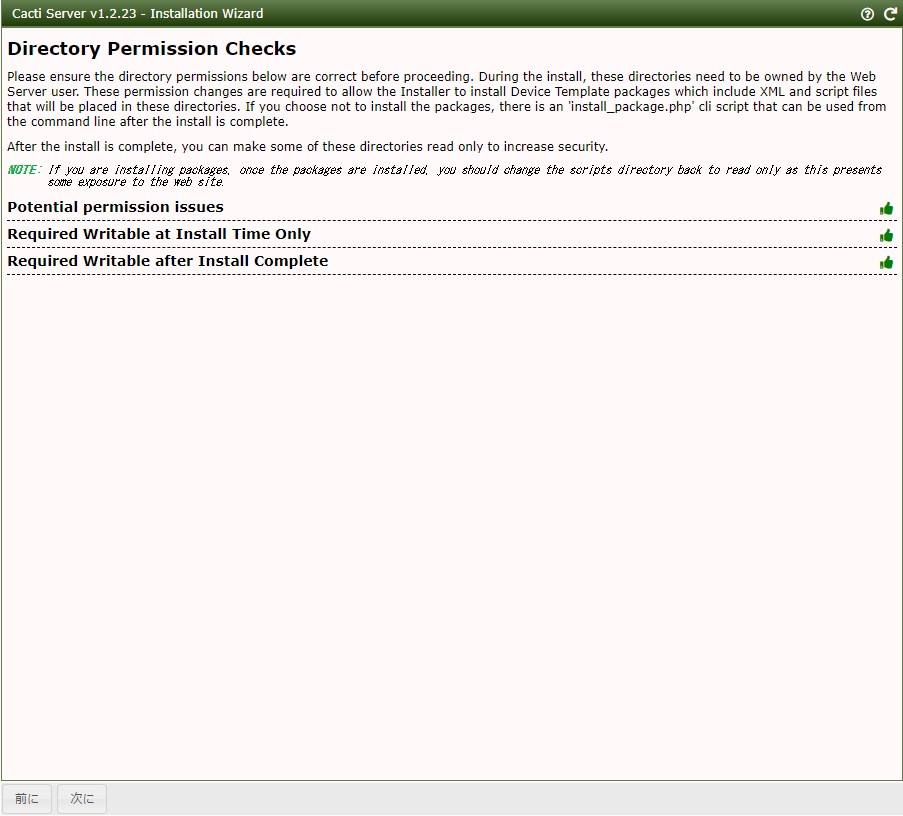
permissionチェックが入ります。警告がでた場合は修正をして、上記のようにすべてOKとなれば次にをクリック。
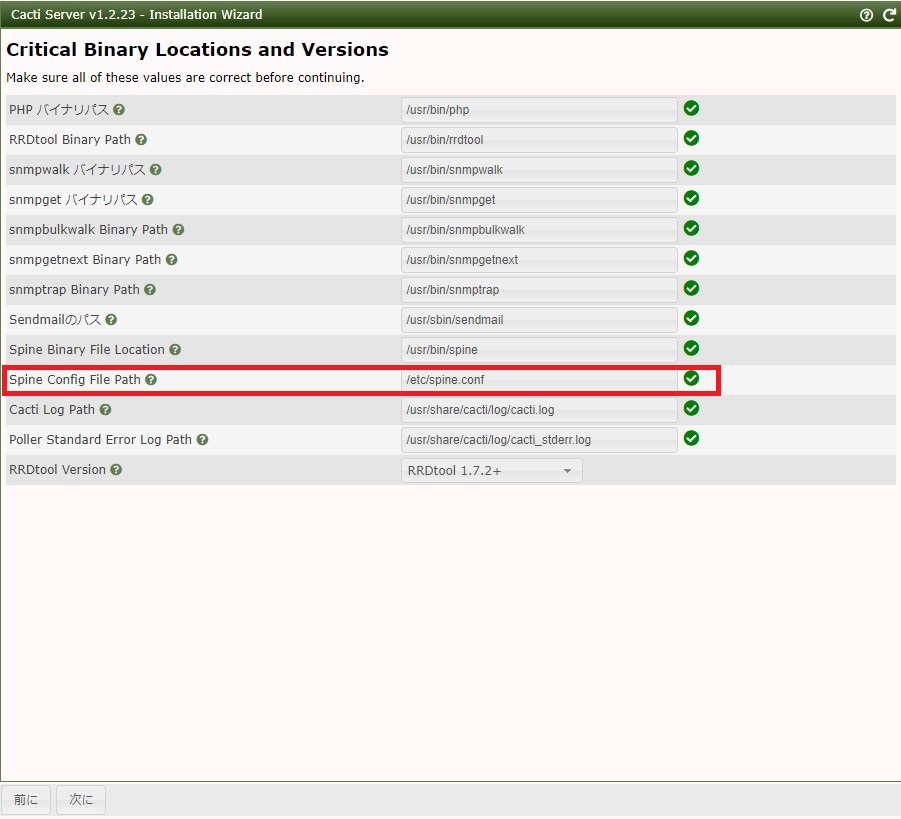
各ファイルのパスを設定します。赤枠で囲ったSpine Config File Pathだけ空白となっていたので、手動で追記しました。次にをクリック。
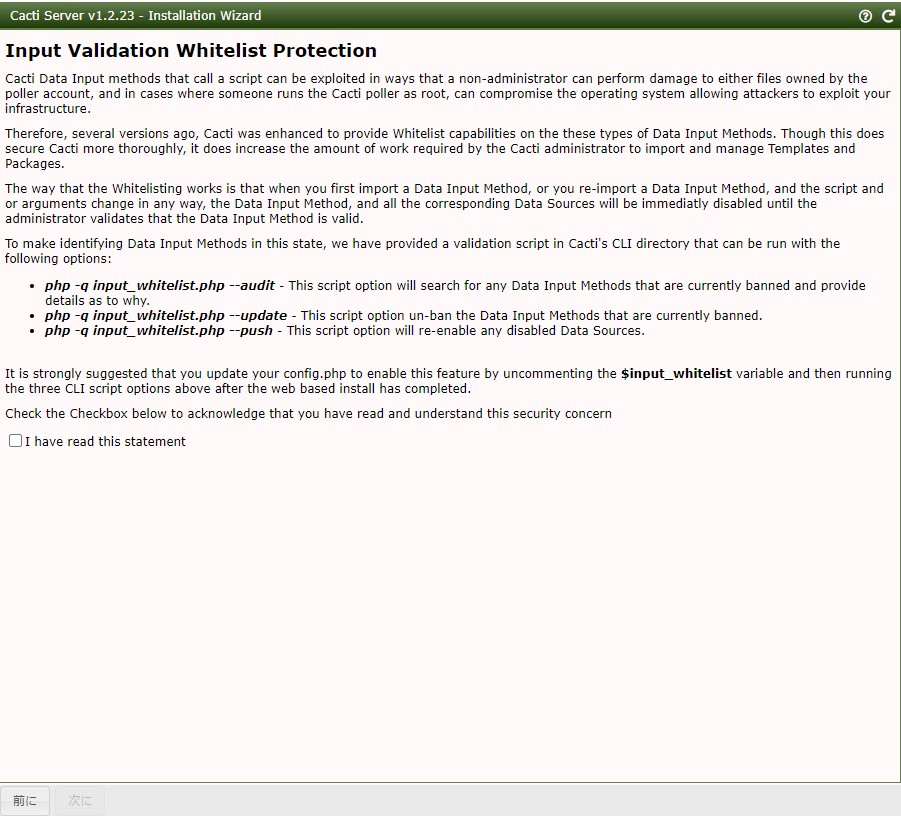
深く考えずにチェックを入れて次にをクリックします。
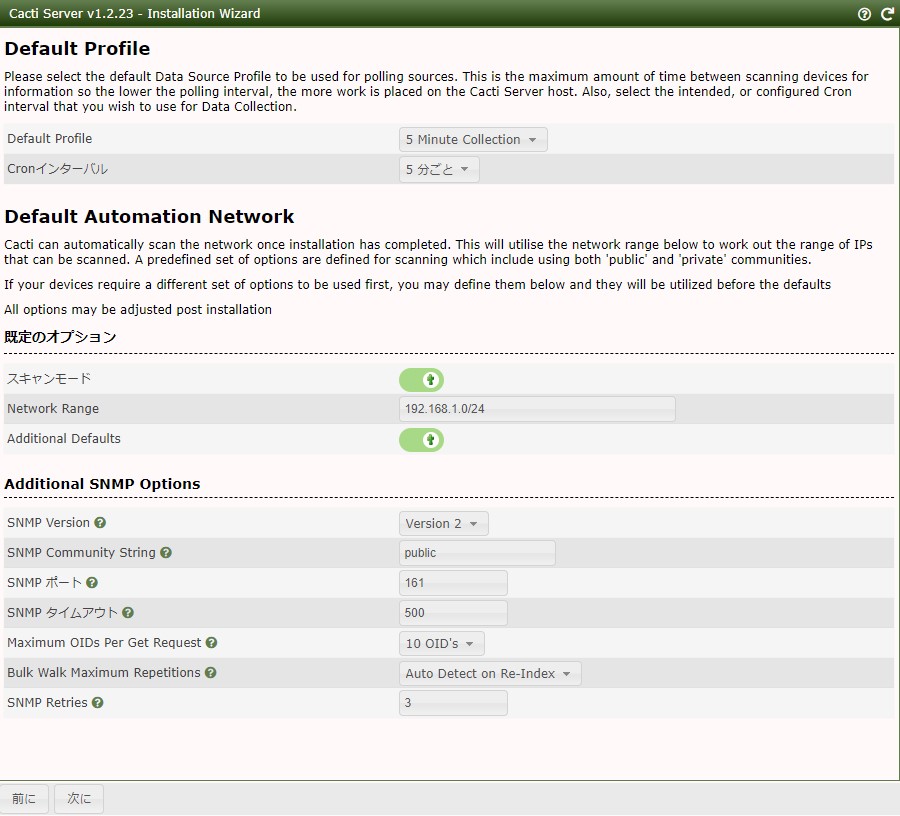
監視の間隔やSNMP周りに関するデフォルトパラメーターをここで調整できます。必要に応じて修正して次にをクリックします。私の場合はDefaultProfileは5分おきになっているのを両方とも1分に変更しました。
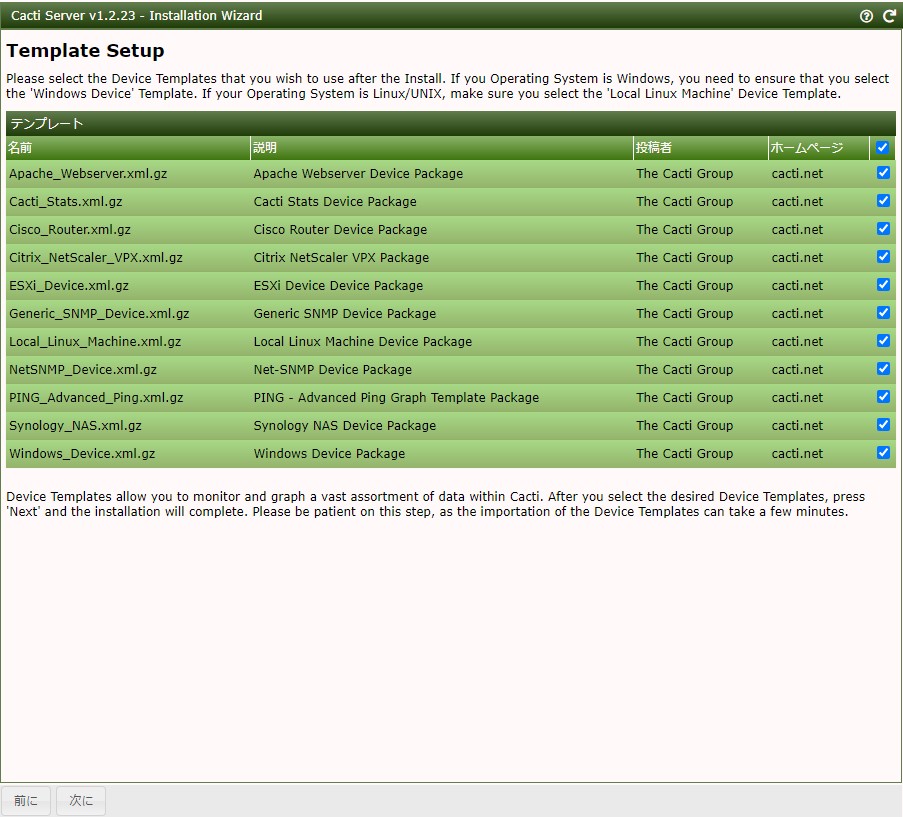
デフォルトで上のテンプレートがインストールされます。このまま次にをクリック。
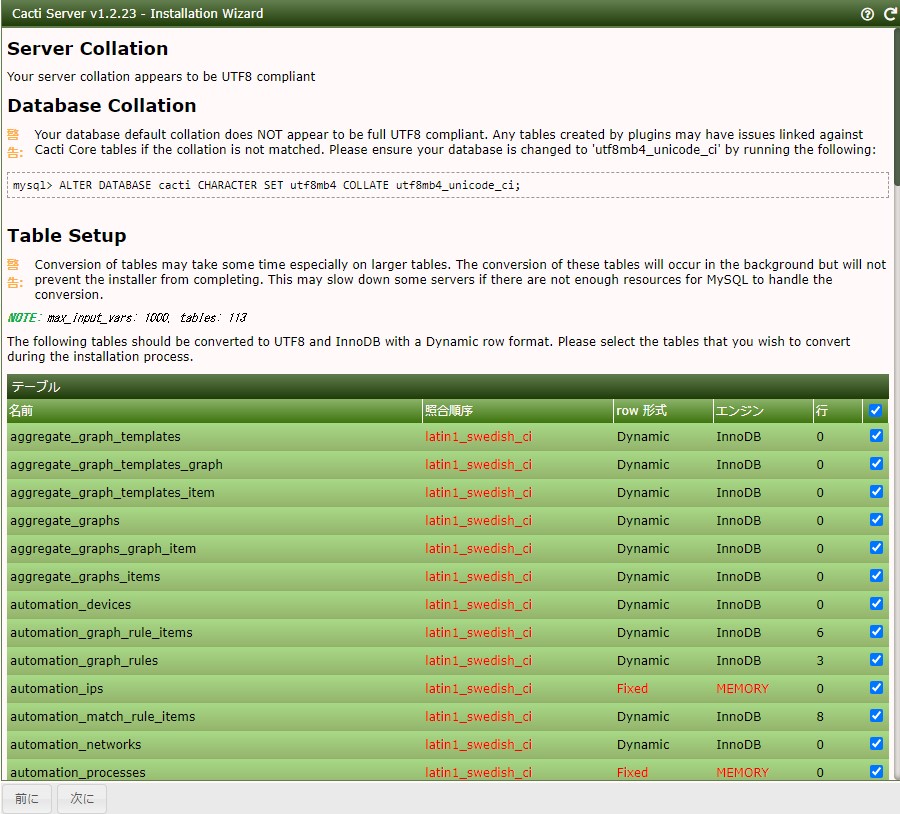
databaseのcaharcter setの変更指示が具体的に表示されています。上の指示通り変更しておきます。
# mysql -uroot -e 'ALTER DATABASE cacti CHARACTER SET utf8mb4 COLLATE utf8mb4_unicode_ci;' |
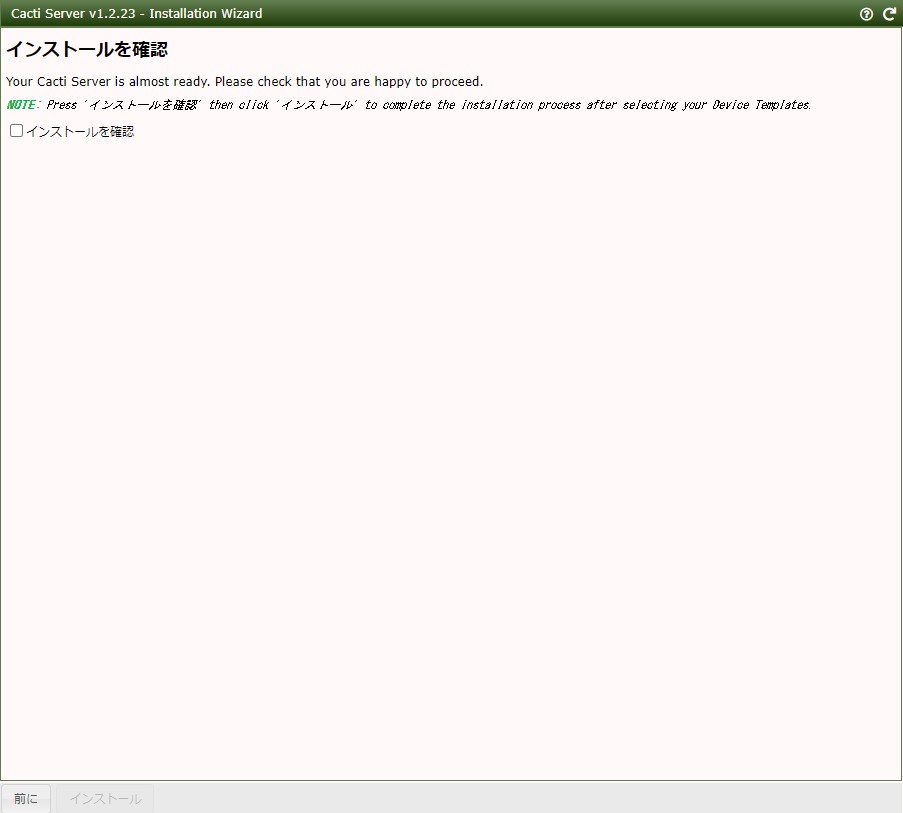
インストールを確認にチェックを入れ、インストールをクリックします。
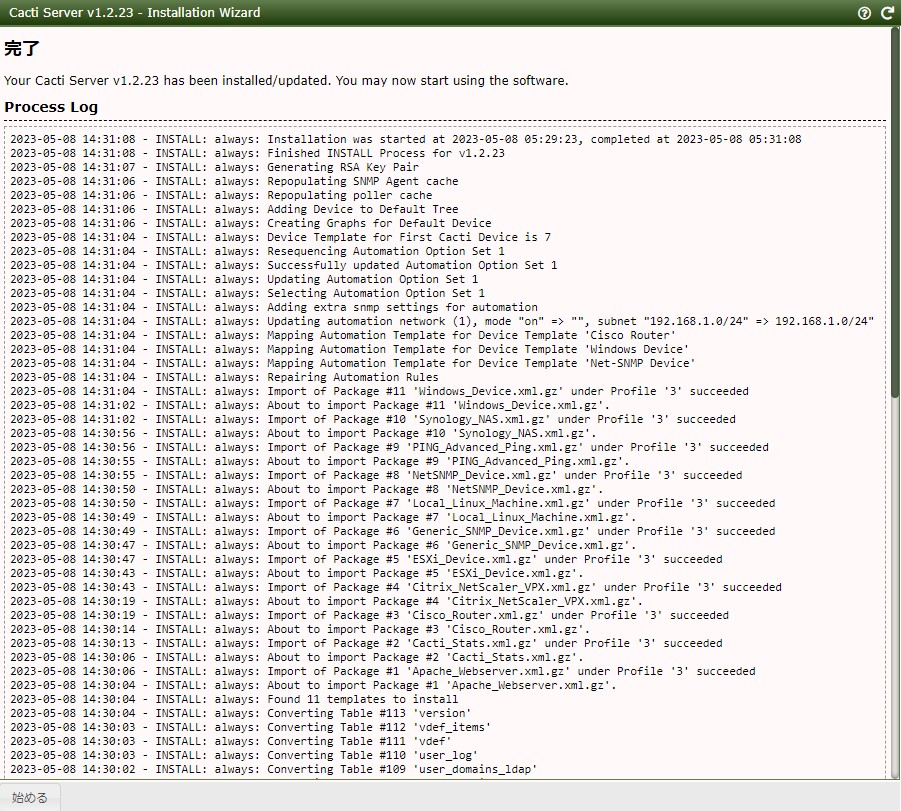
インストールが始まります。少し時間がかかりますが、上のようになれば完了です。始めるをクリックしてください。
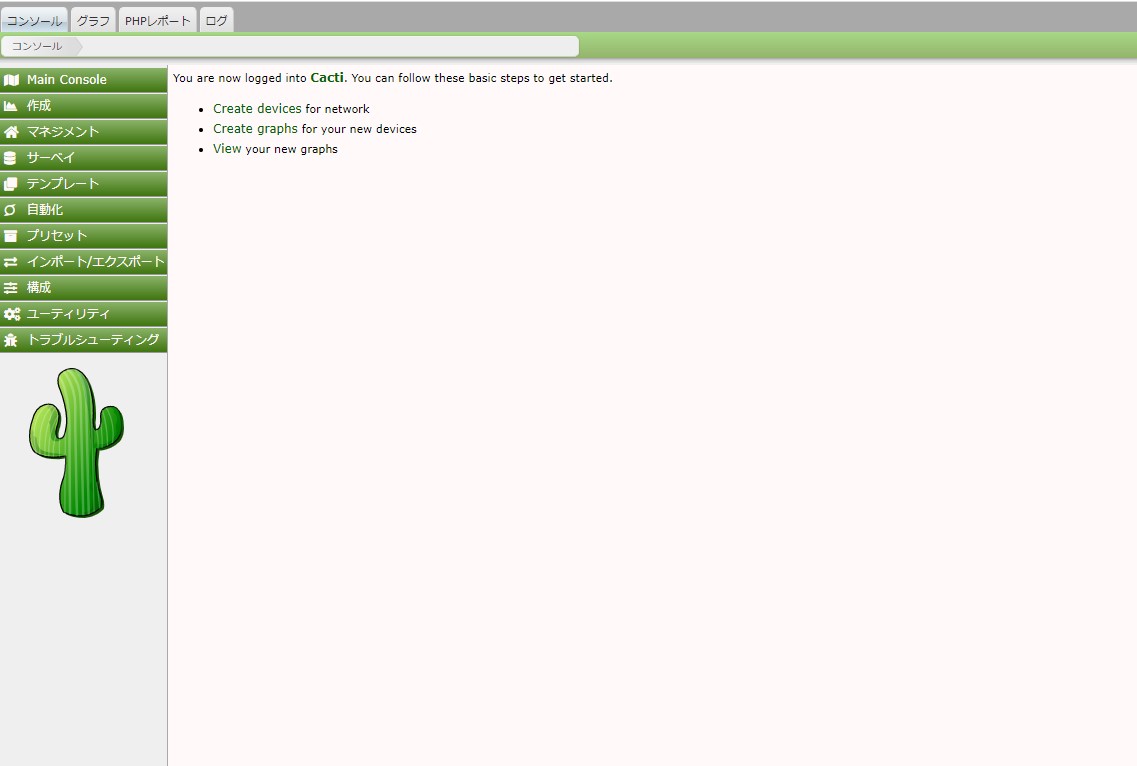
メイン画面は上記のようになります。これにてインストールは完了です。最後にcronで起動するcactiのポーラの起動間隔を修正しておきます。私の場合、1分間隔に変更していますのでcronも1分おきとしています。
# vi /etc/cron.d/cacti #*/5 * * * * apache /usr/bin/php /usr/share/cacti/poller.php > /dev/null 2>&1 * * * * * apache /usr/bin/php /usr/share/cacti/poller.php > /dev/null 2>&1 # systemctl restart crond |
参考URL :
https://changineer.info/server/monitoring/monitoring_cacti.html