FreeRADIUSは本来、ユーザアカウントなどをテキストファイルで管理するのですが、viなどでそれらを編集するのは利便性にかけるので、誰でも簡単に一括登録もできる管理ツールはないか探してみたところ、daloRADIUSというソフトがありました。
これはMySQLを使ってユーザ管理を行い、Web管理画面から操作を行うことのできるツールです。日本語には未対応ですが直感的でわかりやすく、ユーザの一括登録や削除などを行いたい場合はそれなりに使えるツールだと思われます。
CentOS 6.5でWebから管理を行うのでApacheがインストールされているという前提です。まず、ベースとなるfreeradiusとmysqlをインストールします。下記は2回にわけてインストールしていますが、一度に行っても問題ありません。
# yum install freeradius freeradius-mysql freeradius-utils # yum install mysql-server mysql php-mysql php php-gd php-pear-DB |
インストールが無事終わればMySQLの設定に入ります。まずMySQLを起動します。
# /etc/rc.d/init.d/mysqld start MySQL データベースを初期化中: This probably means that your libc libraries are not 100 % compatible with this binary MySQL version. The MySQL daemon, mysqld, should work normally with the exception that host name resolving will not work. This means that you should use IP addresses instead of hostnames when specifying MySQL privileges ! Installing MySQL system tables... <省略> |
MySQLが起動したら下記コマンドでrootパスワードの設定を行っておきます。
# /usr/bin/mysqladmin -u root password '********' |
そしてrootでMySQLに接続しRADIUS用のデータベースを作成します。
# mysql -u root -p Enter password:[上記で設定したrootパスワード] Welcome to the MySQL monitor. Commands end with ; or \g. Your MySQL connection id is 2 Server version: 5.1.73 Source distribution Copyright (c) 2000, 2013, Oracle and/or its affiliates. All rights reserved. Oracle is a registered trademark of Oracle Corporation and/or its affiliates. Other names may be trademarks of their respective owners. Type 'help;' or '\h' for help. Type '\c' to clear the current input statement. # radiusデータベースを作成 mysql> create database radius; Query OK, 1 row affected (0.00 sec) # radiusデータベースに全ての権限を与え、パスワードをradius@123に設定する mysql> grant all on radius.* TO radius@localhost IDENTIFIED BY "radius@123"; Query OK, 0 rows affected (0.00 sec) # ユーザ情報を反映 mysql> flush privileges; Query OK, 0 rows affected (0.00 sec) mysql> exit |
つづけてRADIUSデータベースにSQL文の流しこみを行います。以下のコマンドでユーザradiusでデータベースradiusに接続してschema.sqlを流し込みます。
# mysql -u radius -p radius < /etc/raddb/sql/mysql/schema.sql Enter password:[radiusのパスワードを入力] |
次に接続するMySQLサーバに関する設定を行います。/etc/raddb/sql.confを以下のように編集します。
# vi /etc/raddb/sql.conf

<省略>
        # Connection info:
        server = "localhost"
        #port = 3306
        login = "radius"
        password = "radius@123"

        # Database table configuration for everything except Oracle
        radius_db = "radius"
<省略>
|
続いて幾つかの設定ファイルを編集していきます。それぞれのファイルごとに編集する箇所は異なりますので、以下にファイルごとに変更箇所を示します。
●/etc/raddb/radiusd.conf
        #  Include another file that has the SQL-related configuration.
        #  This is another file only because it tends to be big.
        #
        # <700行目をコメントアウト>
       $INCLUDE sql.conf
|
●/etc/raddb/sites-available/default
        #
        #  Look in an SQL database.  The schema of the database
        #  is meant to mirror the "users" file.
        #
        #  See "Authorization Queries" in sql.conf
        # <177行目をコメントアウト>
       sql

<省略>

        #
        #  Log traffic to an SQL database.
        #
        #  See "Accounting queries" in sql.conf
        # <406行目をコメントアウト>
       sql

<省略>

session {
        radutmp

        #
        #  See "Simultaneous Use Checking Queries" in sql.conf
       # <454行目をコメントアウト>
       sql
}
|
●/etc/raddb/sites-available/inner-tunnel
        #
        #  Look in an SQL database.  The schema of the database
        #  is meant to mirror the "users" file.
        #
        #  See "Authorization Queries" in sql.conf
        # <131行目をコメントアウト>
       sql

<省略>

session {
        radutmp

        #
        #  See "Simultaneous Use Checking Queries" in sql.conf
        # <255行目をコメントアウト>
       sql
}
|
続けてRadius Clientを登録します。これはユーザアカウントではなく認証行うスイッチや無線コントローラなどが該当します。編集するファイルは/etc/raddb/clients.confになります。secretの値はRadius Clientと一致しておく必要があります。
# vi /etc/raddb/clients.conf

client 192.168.0.1 {
        secret = testing123
}
|
また、デフォルトですと認証ログが出力されないようになっていますので、これを有効にするように以下のファイルを編集します。
# vi /etc/raddb/radiusd.conf

<省略>
        #  Log authentication requests to the log file.
        #
        #  allowed values: {no, yes}
        #
        auth = yes

        #  Log passwords with the authentication requests.
        #  auth_badpass  - logs password if it's rejected
        #  auth_goodpass - logs password if it's correct
        #
        #  allowed values: {no, yes}
        #
        auth_badpass = yes
        auth_goodpass = yes
<省略>
|
ここまでくればFreeRADIUSを起動しましょう。
# /etc/rc.d/init.d/radiusd start radiusd を起動中: [ OK ] |
続けてdaloRADIUSのインストールを行います。以下のサイトからdaloRADIUSをダウンロードしてきます。
http://sourceforge.net/projects/daloradius/files/latest/download?source=files
これをLinux上にアップロードし解凍してSQL文を流し込みます。
# tar xvzf daloradius-0.9-9.tar.gz # cd daloradius-0.9-9 # mysql -u radius -p radius < ./contrib/db/fr2-mysql-daloradius-and-freeradius.sql Enter password:[radiusのパスワードを入力] |
続けてdaloRADIUSの設定ファイルを編集します。
# vi library/daloradius.conf.php $configValues['DALORADIUS_VERSION'] = '0.9-9'; $configValues['FREERADIUS_VERSION'] = '2'; $configValues['CONFIG_DB_ENGINE'] = 'mysql'; $configValues['CONFIG_DB_HOST'] = 'localhost'; $configValues['CONFIG_DB_PORT'] = '3306'; $configValues['CONFIG_DB_USER'] = 'radius'; $configValues['CONFIG_DB_PASS'] = 'radius@123'; $configValues['CONFIG_DB_NAME'] = 'radius'; |
そしてdaloRADIUS本体をWebからアクセスできるディレクトリに移動します。
# cd .. # mv daloradius-0.9-9 /var/www/html/daloradius |
あとはブラウザからアクセスすると以下のログイン画面が表示されます。administrator / radiusでログインし操作が行えます。
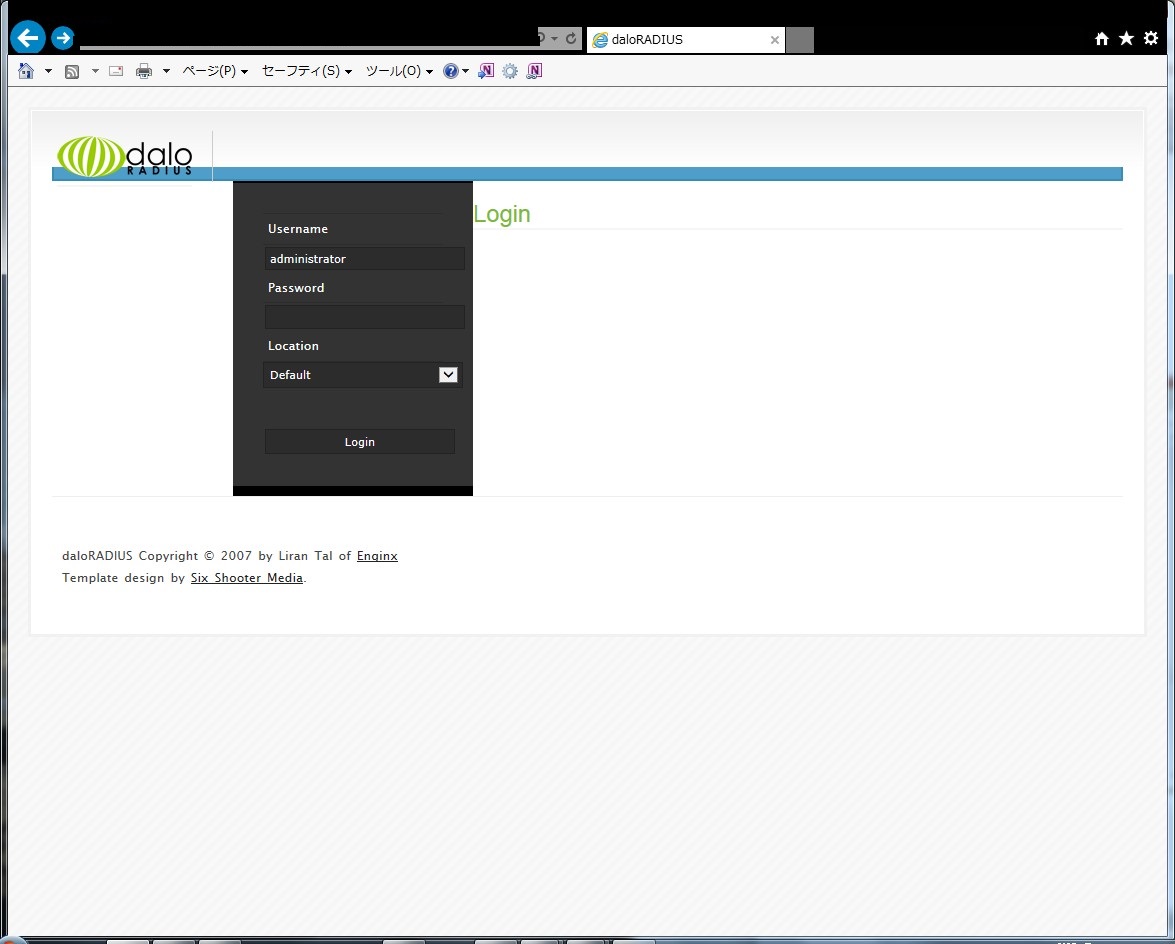
問題なくログインでき、ユーザの登録削除も確認でき、一括登録も動作したので一見何も問題ないように見えたのですが、一括で登録したユーザについては登録直後の状態では認証に失敗し、EditでApplyをクリックすると認証が通るような状態となっていました。
一括登録直後の何も操作しない状態でも認証が通るように以下のソースコードファイルを直接編集します。
# vi mng-import-users.php

<省略>

$user = trim($dbSocket->escapeSimple($users[0]));
$pass = trim($dbSocket->escapeSimple($users[1]));

// 70行目あたりに以下を挿入
$pass = str_replace("\\r", "", $pass);
$pass = str_replace("\\n", "", $pass);
$pass = str_replace(chr(0xC2), "", $pass);
$pass = str_replace(chr(0xA0), "", $pass);

$planName = trim($dbSocket->escapeSimple($planName));
$userType = trim($dbSocket->escapeSimple($userType));

<省略>
|
上記編集によって一括登録直後でも認証は通るようになりました。