FreeRADIUSは本来、ユーザアカウントなどをテキストファイルで管理するのですが、viなどでそれらを編集するのは利便性にかけるので、誰でも簡単に一括登録もできる管理ツールはないか探してみたところ、daloRADIUSというソフトがありました。
これはMySQLを使ってユーザ管理を行い、Web管理画面から操作を行うことのできるツールです。日本語には未対応ですが直感的でわかりやすく、ユーザの一括登録や削除などを行いたい場合はそれなりに使えるツールだと思われます。
Webから管理を行うのでApacheがインストールされているという前提です。まず、ベースとなるfreeradiusとMariaDBをインストールします。下記は2回にわけてインストールしていますが、一度に行っても問題ありません。
# yum install freeradius freeradius-utils freeradius-mysql # rpm -qa | grep freeradius freeradius-mysql-3.0.13-9.el7_5.x86_64 freeradius-utils-3.0.13-9.el7_5.x86_64 freeradius-3.0.13-9.el7_5.x86_64 # yum install mariadb-server # rpm -qa | grep mariadb mariadb-5.5.56-2.el7.x86_64 mariadb-libs-5.5.56-2.el7.x86_64 mariadb-devel-5.5.56-2.el7.x86_64 mariadb-server-5.5.56-2.el7.x86_64 |
MariaDBの初期設定を行います。設定ファイルは/etc/my.cnfになり、/etc/my.cnf.d以下の設定ファイルがインクルードされる形となっています。この中で/etc/my.cnfを編集し文字コードを設定しておきます。
# vi /etc/my.cnf [mysqld] datadir=/var/lib/mysql socket=/var/lib/mysql/mysql.sock # Disabling symbolic-links is recommended to prevent assorted security risks symbolic-links=0 # Settings user and group are ignored when systemd is used. # If you need to run mysqld under a different user or group, # customize your systemd unit file for mariadb according to the # instructions in http://fedoraproject.org/wiki/Systemd character-set-server=utf8 |
systemctlコマンドでmariadbを有効にしてから起動します。 ( 有効にしてからでないと起動しませんでした )
# systemctl enable mariadb.service # systemctl start mariadb.service |
続いてMariaDBの初期設定を行います。初期セットアップコマンドがあり対話形式に進めていきますので、それを実行します。rootパスワードを設定するところのみ入力する必要がありますが、その他についてはそのままEnterで大丈夫です。
# mysql_secure_installation
/usr/bin/mysql_secure_installation: 行 379: find_mysql_client: コマンドが見つかりません

NOTE: RUNNING ALL PARTS OF THIS SCRIPT IS RECOMMENDED FOR ALL MariaDB
      SERVERS IN PRODUCTION USE!  PLEASE READ EACH STEP CAREFULLY!

In order to log into MariaDB to secure it, we'll need the current
password for the root user.  If you've just installed MariaDB, and
you haven't set the root password yet, the password will be blank,
so you should just press enter here.

Enter current password for root (enter for none):[enter]
OK, successfully used password, moving on...

Setting the root password ensures that nobody can log into the MariaDB
root user without the proper authorisation.

Set root password? [Y/n][enter]
New password:[パスワード入力]
Re-enter new password:[パスワード入力]
Password updated successfully!
Reloading privilege tables..
 ... Success!


By default, a MariaDB installation has an anonymous user, allowing anyone
to log into MariaDB without having to have a user account created for
them.  This is intended only for testing, and to make the installation
go a bit smoother.  You should remove them before moving into a
production environment.

Remove anonymous users? [Y/n][enter]
 ... Success!

Normally, root should only be allowed to connect from 'localhost'.  This
ensures that someone cannot guess at the root password from the network.

Disallow root login remotely? [Y/n][enter]
 ... Success!

By default, MariaDB comes with a database named 'test' that anyone can
access.  This is also intended only for testing, and should be removed
before moving into a production environment.

Remove test database and access to it? [Y/n][enter]
 - Dropping test database...
 ... Success!
 - Removing privileges on test database...
 ... Success!

Reloading the privilege tables will ensure that all changes made so far
will take effect immediately.

Reload privilege tables now? [Y/n][enter]
 ... Success!

Cleaning up...

All done!  If you've completed all of the above steps, your MariaDB
installation should now be secure.

Thanks for using MariaDB!
|
続いてdaloRADIUS用のデータベースを作成します。
# mysql -u root -p Enter password:[rootパスワード入力] Welcome to the MariaDB monitor. Commands end with ; or \g. Your MariaDB connection id is 10 Server version: 5.5.37-MariaDB MariaDB Server Copyright (c) 2000, 2014, Oracle, Monty Program Ab and others. Type 'help;' or '\h' for help. Type '\c' to clear the current input statement. MariaDB [(none)]> create database radius; Query OK, 1 row affected (0.00 sec) MariaDB [(none)]> grant all privileges on radius.* to radius@localhost identified by 'radius@123'; Query OK, 0 rows affected (0.00 sec) MariaDB [(none)]> flush privileges; Query OK, 0 rows affected (0.00 sec) MariaDB [(none)]> exit Bye |
つづけてRADIUSデータベースにSQL文の流しこみを行います。以下のコマンドでユーザradiusでデータベースradiusに接続してschema.sqlを流し込みます。
# mysql -u root -p radius < /etc/raddb/mods-config/sql/main/mysql/schema.sql Enter password:[radiusのパスワードを入力] |
次に以下のようにシンボリックリンクをはっておきます。
# ln -s /etc/raddb/mods-available/sql /etc/raddb/mods-enabled/ |
次に接続するMySQLサーバに関する設定を行います。/etc/raddb/mods-available/sqlを以下のように編集します。
# vi /etc/raddb/mods-available/sql

<省略>
sql {
        # The sub-module to use to execute queries. This should match
        # the database you're attempting to connect to.
        #
        #    * rlm_sql_mysql
        #    * rlm_sql_mssql
        #    * rlm_sql_oracle
        #    * rlm_sql_postgresql
        #    * rlm_sql_sqlite
        #    * rlm_sql_null (log queries to disk)
        #
        driver = "rlm_sql_mysql"
<省略>
        # The dialect of SQL you want to use, this should usually match
        # the driver you selected above.
        #
        # If you're using rlm_sql_null, then it should be the type of
        # database the logged queries are going to be executed against.
        dialect = "mysql"
        # Connection info:
        #
        server = "localhost"
        port = 3306
        login = "radius"
        password = "radius@123"

        # Database table configuration for everything except Oracle
        radius_db = "radius"
<省略>
        # Set to 'yes' to read radius clients from the database ('nas' table)
        # Clients will ONLY be read on server startup.
        read_clients = yes
|
あとはこのファイルの権限を変更しておきます。
# chgrp -h radiusd /etc/raddb/mods-enabled/sql |
あと、今後の運用のために認証ログが出力されるよう変更しておきます。下記は該当箇所の抜粋箇所です。
# vi /etc/raddb/radiusd.conf auth = yes auth_badpass = yes auth_goodpass = yes |
FreeRADIUS側の設定は以上となります。
daloRADIUSをインストールします。まずソフト本体をwgetでダウンロードし展開します。
# cd /tmp # wget https://github.com/lirantal/daloradius/archive/master.zip # unzip master.zip # mv daloradius-master/ daloradius # cd daloradius |
このあとSQL文を流し込みます。
# mysql -u root -p radius < contrib/db/fr2-mysql-daloradius-and-freeradius.sql Enter password:[パスワード入力] # mysql -u root -p radius < contrib/db/mysql-daloradius.sql Enter password:[パスワード入力] |
後はこのdaloRADIUS本体をApacheのドキュメントルートに配置します。
# cd .. # mv daloradius/ /var/www/html/ # chown -R apache.apache /var/www/html/daloradius/ # chmod 664 /var/www/html/daloradius/library/daloradius.conf.php |
続けてdaloRADIUS用のSQLの設定を行います。以下の3行を必要に応じて編集します。
# vi /var/www/html/daloradius/library/daloradius.conf.php <省略> $configValues['CONFIG_DB_USER'] = 'radius'; $configValues['CONFIG_DB_PASS'] = 'radius@123'; $configValues['CONFIG_DB_NAME'] = 'radius'; <省略> |
PHPも必要なパッケージがあったりするので以下でまとめて入れておきます。
# yum -y install php mod_php php-cli php-mysqlnd php-devel php-gd php-mcrypt php-pear php-pear-DB php-mbstring php-xml php-pear # systemctl restart httpd |
後はWebから画面が見えるか試してみます。アクセス先はhttp://[ip-address]/daloradius/login.phpとなります。以下の画面が見えたらOKです。
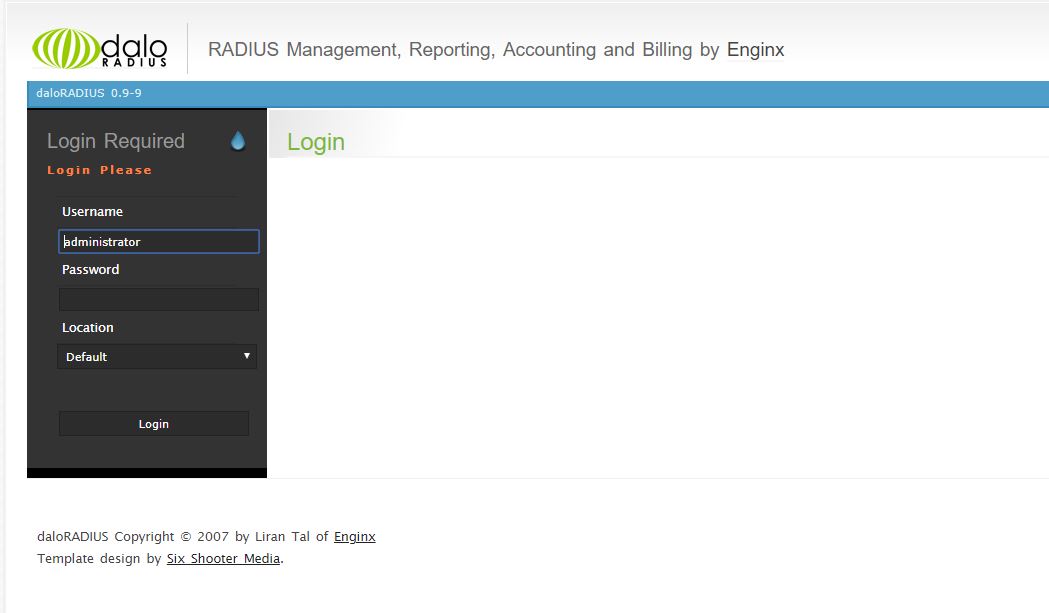
デフォルトのログインID/PASSはadministrator / radiusとなります。ログインできるか試して見てください。ログイン直後は以下のような画面となります。
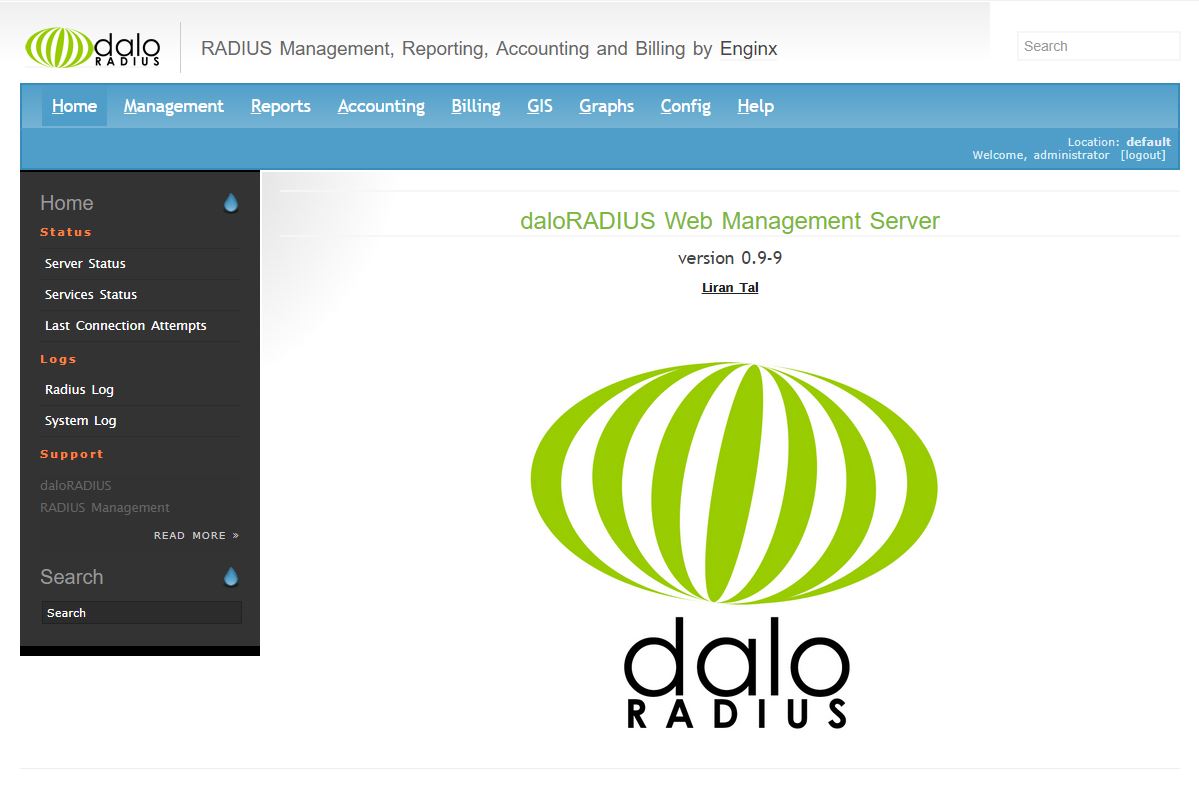
WebUIのManagement – New Userから認証ユーザを追加することができます。テスト的にtestuser / testpasswordで作成し、認証に成功するかどうか試してみます。ユーザを作成した後に以下のコマンドでテストしてみてください。
# radtest testuser testpassword localhost 0 testing123
Sent Access-Request Id 250 from 0.0.0.0:45131 to 127.0.0.1:1812 length 78
        User-Name = "testuser"
        User-Password = "testpassword"
        NAS-IP-Address = 127.0.0.1
        NAS-Port = 0
        Message-Authenticator = 0x00
        Cleartext-Password = "testpassword"
Received Access-Accept Id 250 from 127.0.0.1:1812 to 0.0.0.0:0 length 20
|
上記のようになれば成功です。/var/log/radius/radius.logにも以下のような出力が残っているはずです。
Auth: (0) Login OK: [testuser/testpassword] (from client localhost port 0) |